Cheesecake Peanut Butter Bars
Cheesecake Peanut Butter Bars are outrageously delicious with a dreamy cheesecake filling and luscious ganache topping. It’s an easy way to get your chocolate peanut butter fix. But be prepared to swoon!!
This Peanut Butter Bars Recipe has the perfect proportion of cheesecake to chocolate and much easier to make than an ordinary cheesecake! If you love peanut butter cups, you’ll be an instant fan of these cheesecake bars.

Why You Must Make
- If you love the combo of peanut butter and chocolate, this recipe is for you!!
- Plus, the peanut butter layer is CHEESECAKE!!
- When cut, they look impressive with three distinct layers. Dazzle your friends with these.
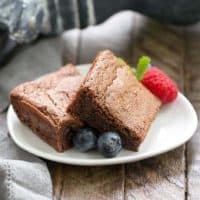
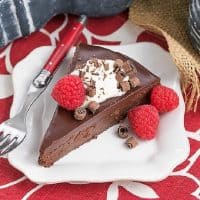
I had just stocked up on cream cheese and finished up a batch of Stuffed Peanut Butter Rice Krispie Treats, and still had a hankering for a peanut butter dessert. More peanut butter bars weren’t out of the question, so I whipped up these creamy cheesecake bars flavored with peanut butter. The recipe makes 3 tasty layers, starting with an Oreo crust, then the peanut butter cheesecake, followed by a silky smooth chocolate ganache. Topping these with mini peanut butter cups make them extra festive if serving to company or making for a special occasion.

How to Make
I’ve made numerous cheesecake bars over the years, including these Twix Cheesecake Bars, Blackberry Cheesecake Bars, and these Strawberry Cheesecake Bars. All unique, yet there are tips that are essential for helping to make them creamy and beautiful.
- First, this may seem obvious but read through the recipe once or twice before starting the process. More than once, I’ve found I’m missing an ingredient. And it’s so inconvenient to have to run to the market for just one item!
- Next, prep your pan properly. This will help you remove the bars more easily for cutting and serving. I love using non-stick foil so I can lift out the whole batch and remove it to a cutting board. This works better for an 8 x 8-inch or 9 x 9-inch dessert than with a larger pan.
- Aim for even layers. This will make the best presentation when they’re cut. Tamp in the crust (you can use your hands or even the bottom of a measuring cup).
- Use an offset spatula to level out the cheesecake layer. And use the same spatula to spread the ganache, then gently shake the pan back and forth to level it even more.

Expert Tips:
When cheesecake is involved, there are a few simple tricks to making it ultra-creamy. It’s worth the minimal extra effort for a spectacular dessert. Here are my tips:
- PRO-Tip: When making the peanut butter cheesecake, have your cream cheese and eggs at room temperature. This will drastically improve the texture as these two ingredients will blend in more smoothly if not cold.
- PRO-Tip: Use the paddle attachment on your stand mixer to minimize incorporating air into the batter. The goal is for a dense and creamy cheesecake. If you’re using a hand mixer, be sure not to overmix by whipping on the highest speed or for too long. Use a lower speed and stop once the mixture is combined and homogeneous.
- Don’t overbake the cheesecake layer. It can still have a wee bit of a jiggle in the center as this will set as the cheesecake cools.
- Cool to room temperature, then refrigerate until cold before adding the ganache.
Frequently Asked Questions:
Since the cheesecake filling can spoil, cheesecake bars must be stored in the refrigerator. Cover with plastic or foil to keep them fresh.
Yes. Most cheesecake desserts freeze well. Just make sure they’re in an airtight container before freezing. Freeze for up to 3 months. To defrost, put them in the refrigerator overnight. Watch for condensation on the lid (or wrap) when you remove it after defrosting. Water droplets will leave marks on the chocolate topping if they drip onto it.
Cheesecake tastes much better if brought out of the refrigerator about an hour before serving. Cut them while cold for the cleanest look, then bring them out to the counter to take the chill off. I like to garnish for company. These peanut butter bars looked great with mini peanut butter cups.
You May Also Like:
I do not like peanut butter straight up. No peanut butter sandwiches, peanut butter on crackers, or peanut butter off a spoon! But I do love a delicious peanut butter dessert. Here are some more ideas for you to peruse.
- Peanut Butter Butterfinger Pie from Inside BruCrew Life
- Frozen Chocolate Peanut Butter Pie
- Peanut Butter Truffle Brownies
- Chocolate Peanut Butter Caramel Bars
- Peanut Butter Chocolate Mousse Cake
- Peanut Butter Cheesecake Bars
- Plus more of the Best Dessert Recipes
Peanut Butter Cheesecake Bars
Luscious Peanut Butter Cheesecake Bars with an Oreo crust, peanut butter cheesecake filling and a chocolate ganache glaze.
Ingredients
For Crust:
- 36 Oreos, processed to crumbs in food processor
- ½ cup salted butter, melted
For Cheesecake:
- 24 oz cream cheese, at room temperature
- 1 cup sugar
- ¼ cup sour cream
- 1 cup creamy peanut butter
- 1 teaspoon vanilla
- pinch of salt
- 3 eggs
For Chocolate Topping:
- ½ cup butter
- 1 cup chocolate chips or 6 ounces chopped semisweet chocolate
Instructions
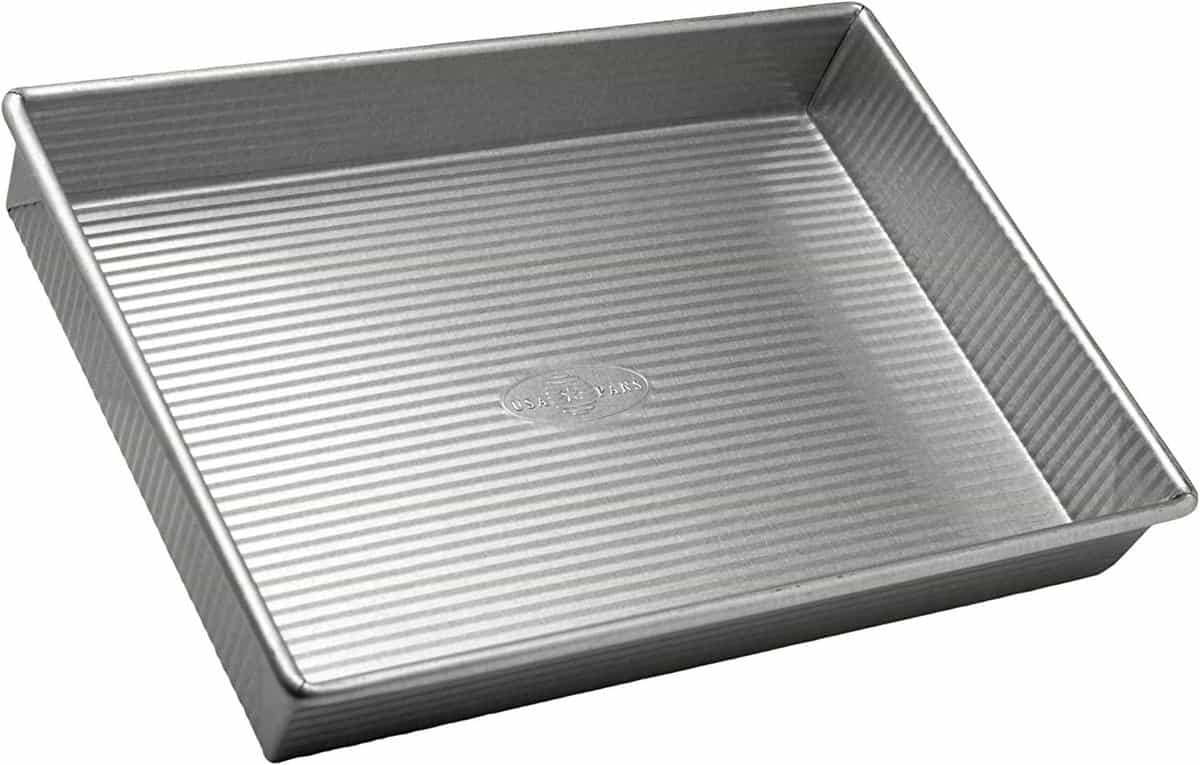
- Preheat the oven to 350°. Line a 9x13 pan with nonstick foil.
- To make the crust, combine cookie crumbs and butter and press evenly into the bottom of the pan.
- Bake for 10 minutes.
- To make the cheesecake, beat cream cheese and sugar until smooth. Add sour cream, then the peanut butter, vanilla extract, and salt.
- Add the eggs one at a time and mix just until incorporated. Pour the batter over the crust and smooth with an offset spatula.
- Bake for 30-35 minutes or until cheesecake looks mostly set. There can be a slight jiggle in the very center.
- Cool to room temperature on a wire rack, and then chill until cold.
- To make the chocolate topping, melt butter and chocolate together in the microwave.
- Stir until smooth and pour on cold cheesecake. Chill at least an hour before cutting.
Notes
You can make half a batch in an 8 x 8-inch pan. You will need to use 1 ½ eggs. For the half egg, whisk a whole egg in a small bowl, then remove approximately half of the mixture to use in the recipe.
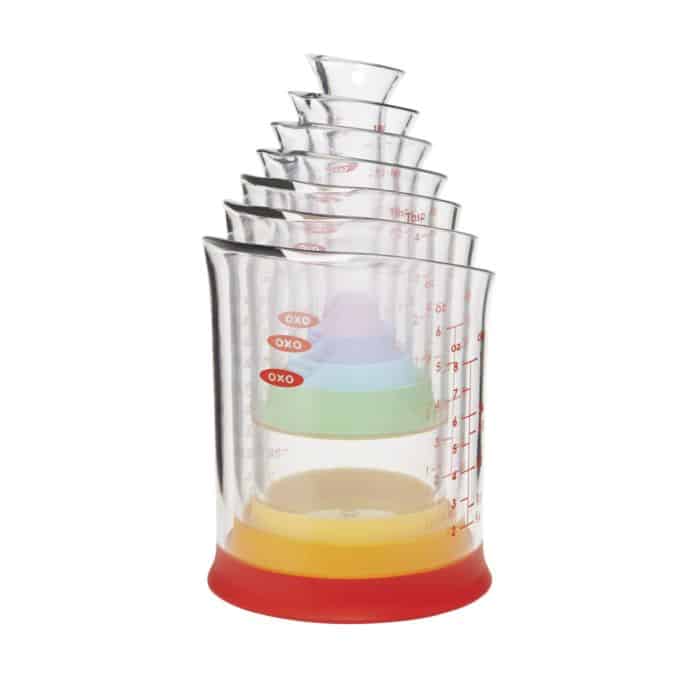
If you have a set of the small OXO liquid measuring cups, they come in handy for small liquid measurements.
Recommended Products
As an Amazon Associate and member of other affiliate programs, I earn from qualifying purchases.
Nutrition Information:
Yield:
24Serving Size:
1Amount Per Serving: Calories: 426Total Fat: 32gSaturated Fat: 16gTrans Fat: 0gUnsaturated Fat: 11gCholesterol: 74mgSodium: 285mgCarbohydrates: 34gFiber: 2gSugar: 25gProtein: 6g
Thatskinnychickcanbake.com occasionally offers nutritional information for recipes contained on this site. This information is provided as a courtesy and is an estimate only. This information comes from online calculators. Although thatskinnychickcanbake.com attempts to provide accurate nutritional information, these figures are only estimates. Varying factors such as product types or brands purchased can change the nutritional information in any given recipe. Also, many recipes on thatskinnychickcanbake.com recommend toppings, which may or may not be listed as optional and nutritional information for these added toppings is not listed. Other factors may change the nutritional information such as when the salt amount is listed “to taste,” it is not calculated into the recipe as the amount will vary. Also, different online calculators can provide different results. To obtain the most accurate representation of the nutritional information in any given recipe, you should calculate the nutritional information with the actual ingredients used in your recipe. You are solely responsible for ensuring that any nutritional information obtained is accurate.


11 Comments on “Cheesecake Peanut Butter Bars”
These bars were a huge hit with the family! Everyone loved the rich and creamy cheesecake filling!
Wow. This looks terrific. As I’ve mentioned before, I can’t resist cheesecake anything. Or peanut butter, for that matter. Combining them might be a bit deadly. But good. 🙂 Thanks!
This is new. I’m trying to imagine the flavor combination. I’m intrigued.
Amalia
xo
My friends’ birthday is right around the corner, surely surprising her with this!
Hope she enjoys them as much as we do! Thanks for checking them out, Lola.
Again you’ve totally nailed it with these gorgeous bars. We love chocolate and peanut butter but never thought to add the cheesecake element to it, it looks and sounds absolutely wonderful.
You can’t go wrong with chocolate and peanut butter! These bars are simply gorgeous.
I love both peanut butter and cheesecake, so these bars are right up my alley; peanut butter and cream cheese is just a heavenly, smooth, silky, and decadent combo! Love the addition of sour cream too – I guess its tang settles down a bit the richness and sweetness of the filling. Very nicely done!
Nice choice this month! They look scrumptious! Love the combo of chocolate and peanut butter!
Perfect little slices once again! I know I’d love this special treat:@)
I always admire your perfect cookies and bars baking skill…these look decadent and absolutely irresistible, Liz.