Chocolate Chip Cookie Bars
Chocolate Chip Cookie Bars made with pantry ingredients are an effortless way for a chocolate chip cookie fix. Simple enough for a beginning baker!
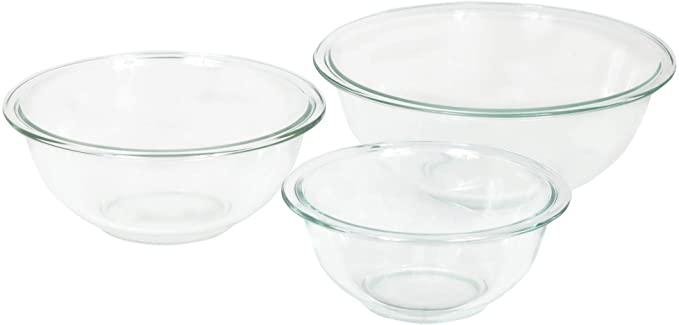
No scooping, one bowl, one pan all make these Cookie Bars the perfect solution when time is short or kids are underfoot! Add your favorite chips, nuts, dried fruit (though my kids would revolt!) or even toffee chips to shake things up.
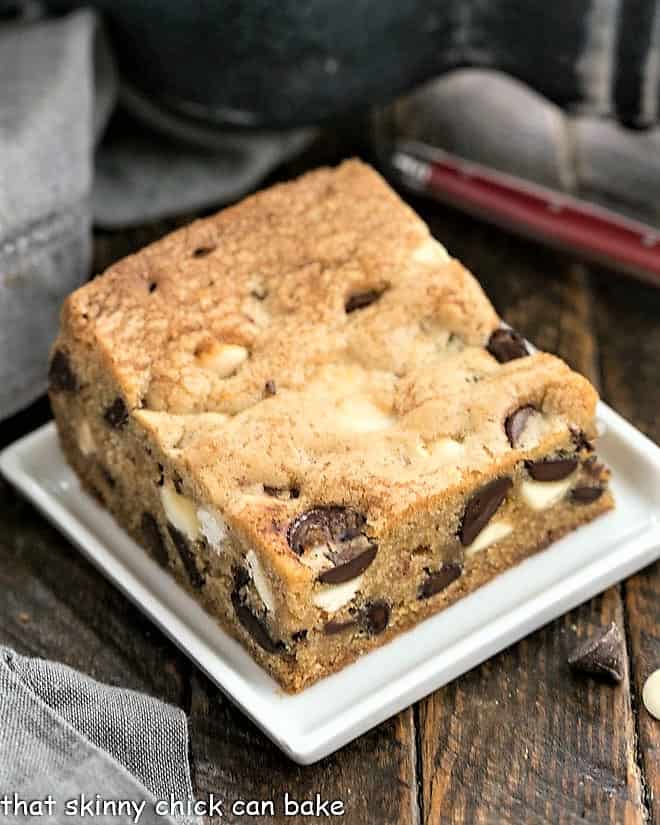
Why You Must Make
- They’re perfect for the times you don’t have time to make individual cookies.
- These chewy chocolate chip cookie bars have the exact flavors of your favorite chocolate chip cookies!
- They became a family favorite from the first time I made them. They dubbed them “chippy bars.”
This pan cookie recipe came from pure laziness. My family (my husband being the band leader) adores chocolate chip cookies. But when our 3 children were young, I didn’t always have time to make cookies. Scooping, baking, cooling, repeating. A bit of a pain with little ones underfoot. So spreading the cookie dough into a cake pan was the perfect solution for an easy dessert recipe.
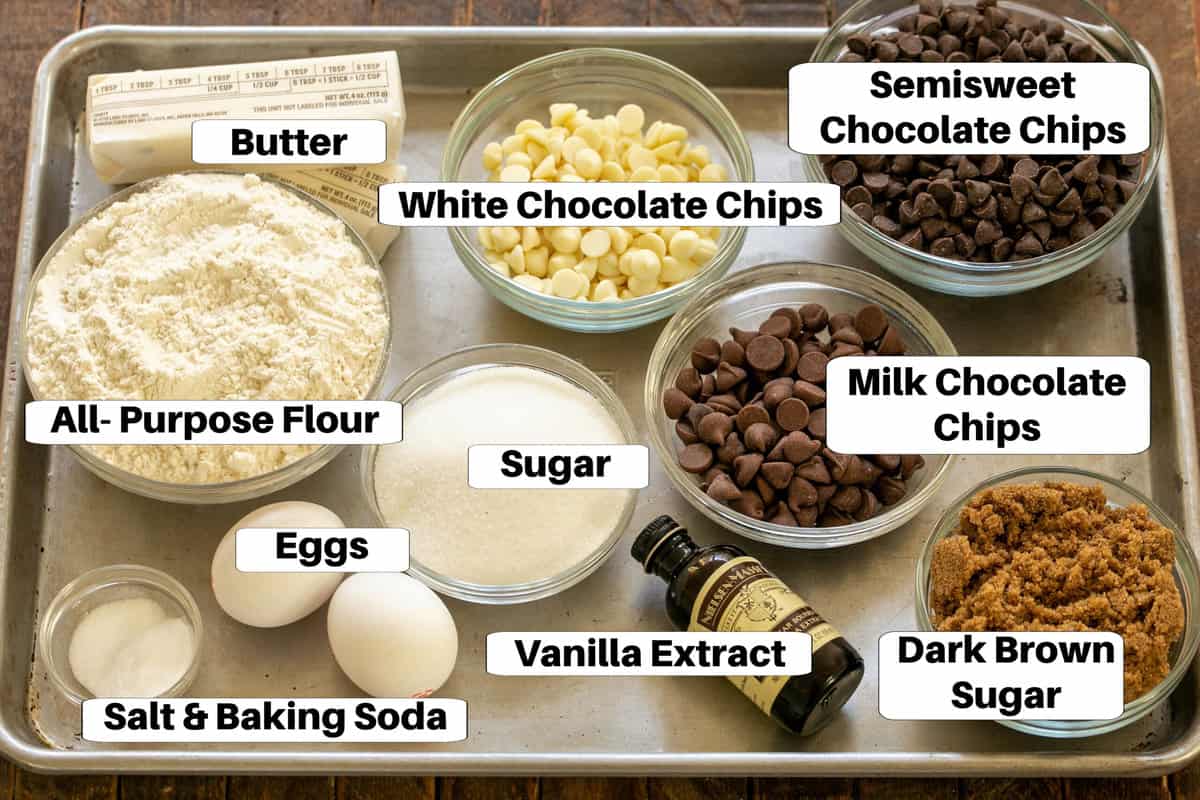
Ingredient Notes
- Kitchen Staples – Sugar, Flour, Baking Soda, Salt
- Butter – At room temperature for easy blending.
- Brown Sugar – Regular or dark brown. See how to make your own dark brown sugar in the frequently asked questions below. It adds moisture to the bars. Dark brown sugar adds even more caramel undertones than regular brown sugar, but both work equally well.
- Eggs – Have them at room temperature for easier incorporation.
- Vanilla Extract – It should be real vanilla, not artificially flavored.
- Semisweet Chocolate Chips – Or you can use 1 cup semisweet chocolate chips plus ¾ cup white chocolate chips and ¾ cup milk chocolate chips. If you have some extra chocolate chips, carefully press them into the fresh out of the oven bars. This will give a bakery-worthy appearance to your bars.
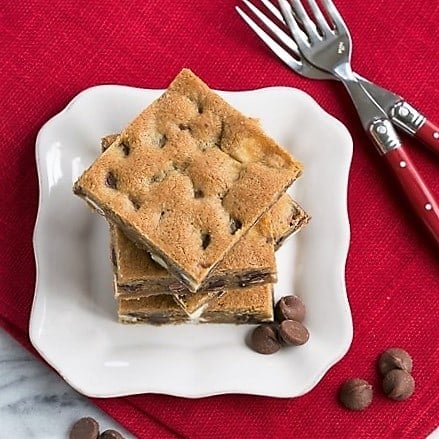
How to Make
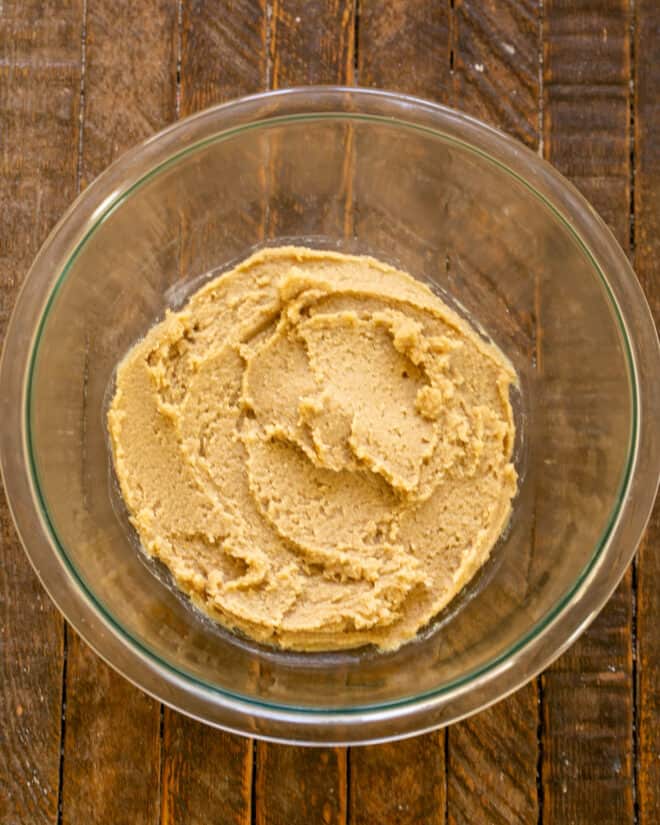
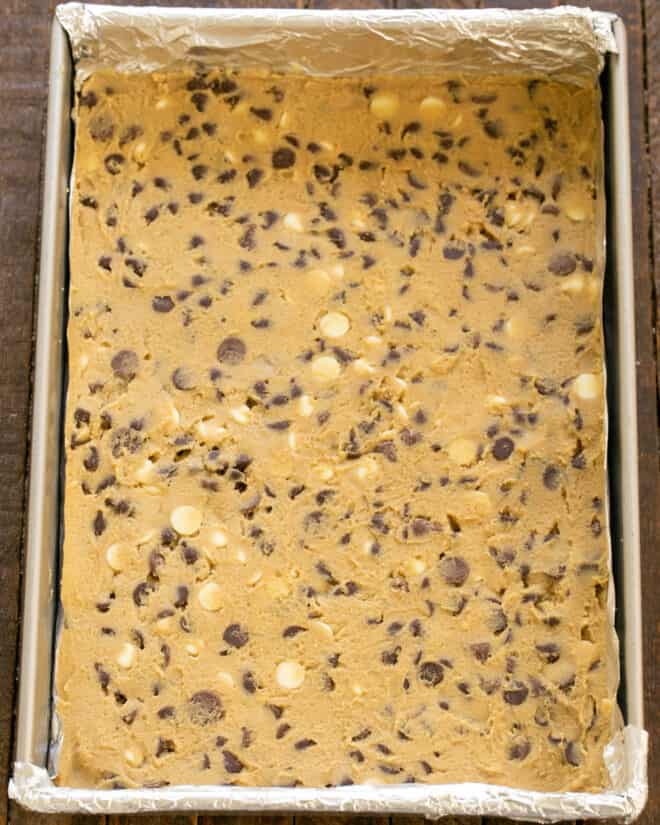
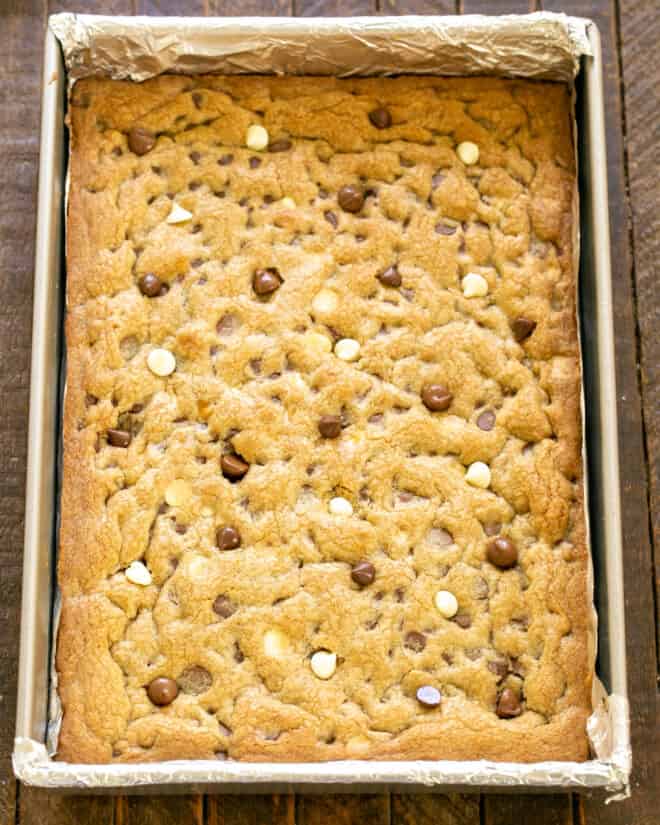

Expert Tips
I have made this dessert more than any other. From bowl to plate it takes only about an hour. Much quicker than cookies, and so well-loved. My family is willing to eat these chocolate chip cookie bars fresh from the oven while they’re warm and gooey. Wouldn’t you? I hope these cookie bars will become a favorite of your family, too. I’m sharing a couple of tips for making bar cookies the best they can be.
- PRO-Tip: An hour or so before baking, set the eggs and butter on the counter to come to room temperature. Both will incorporate more easily if not ice cold.
- Line your pan with non-stick foil. Besides preventing the bars from sticking, the foil can be used as a sling to remove the cooled bar cookies from the pan onto a cutting board. This will help you slice them into nice even bars. You can also use parchment paper to line the pan.
- Add whatever kind of chocolate chips you enjoy. Semisweet is a classic choice, but try my combination of milk chocolate, semisweet chocolate, and white chocolate, or even butterscotch or peanut butter chips. You can also shake things up by using half M&Ms and half chocolate chips.
- I typically use light brown sugar, but for chewier blondies, try dark brown sugar. It has more molasses which provides extra moisture. Plus, it gives a richer caramel flavor.
- PRO-Tip: Did you know you can make your own dark brown sugar if you don’t have any in your pantry? Simply mix 1 tablespoon of molasses into 1 cup of light brown sugar for each cup needed.
- Use an offset spatula to spread the dough in the pan. It will help make a smooth level surface.
- Slightly underbaking makes these bars moist and chewy. But you don’t want them to be raw in the middle. The timing of anything you bake depends on your oven. I suggest baking them for the time listed in the recipe first, then adjusting the next time if you want them chewier. Because I know you’ll want to make them again.
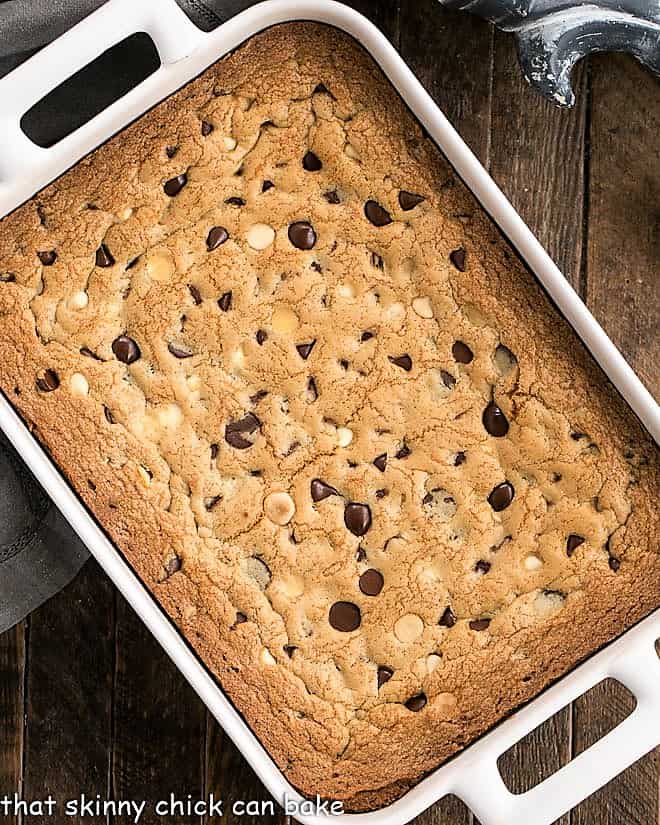
- To bake like a pro, reserve some chocolate chips to carefully press into the warm bars after they come out of the oven–remember that the pan is very hot! It will make a prettier presentation. Of course, my family just cares about the taste, but it’s something you might like to do if making these chocolate chip bars for friends.
Frequently Asked Questions
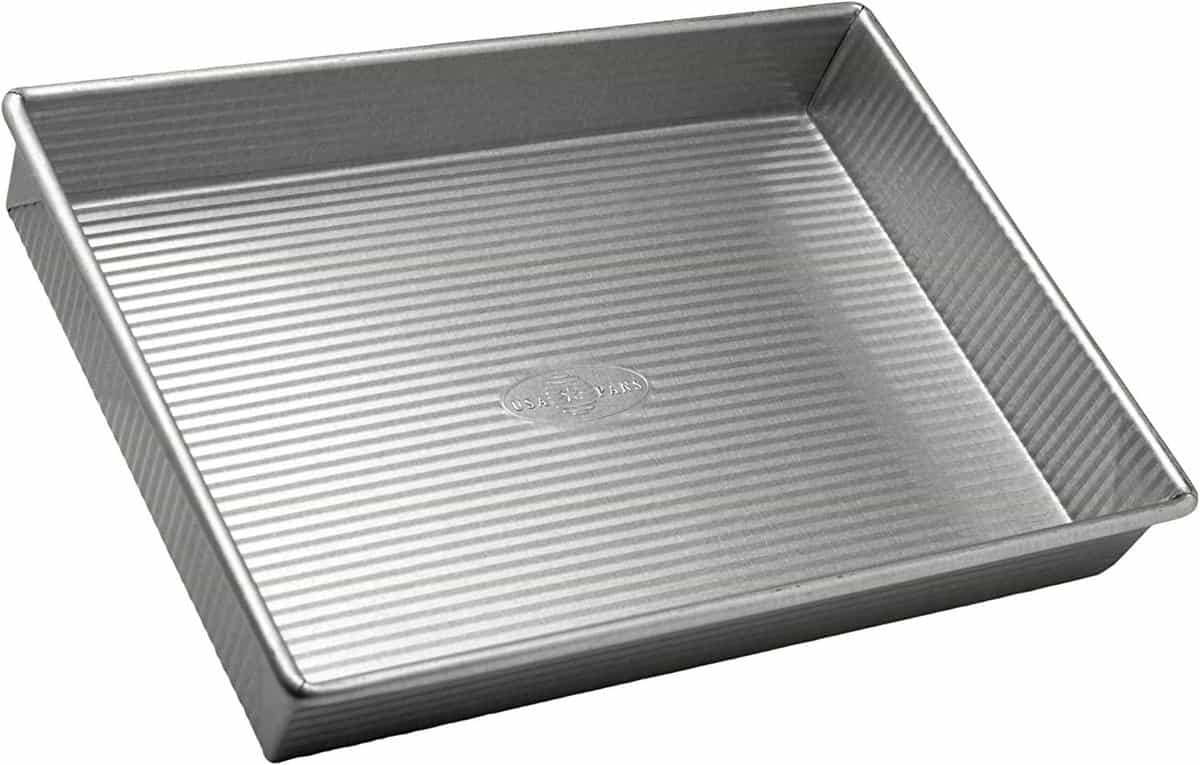
First, prepare your pan. PRO-Tip: You can grease with a cooking spray like Pam, but I prefer to line my 9×13-inch baking pan with foil, specifically non-stick foil. The foil doubles as a sling to help remove the bars to a cutting board after they are cool.
Regular foil works for a sling, but the non-stick peels off the bars easily. Superslick, especially if you’re making these for company as it’s much easier to neatly cut these into bars if they’re out of the pan. Check out my post on How to Cut Perfect Cookie Bars if you’d like some more tips.
Usually, cookie bars can be baked at the same temperature as cookies, but they need a longer baking time. Baking time is typically 10 minutes for simple chocolate chip cookies and about 25 minutes for these bar cookies.
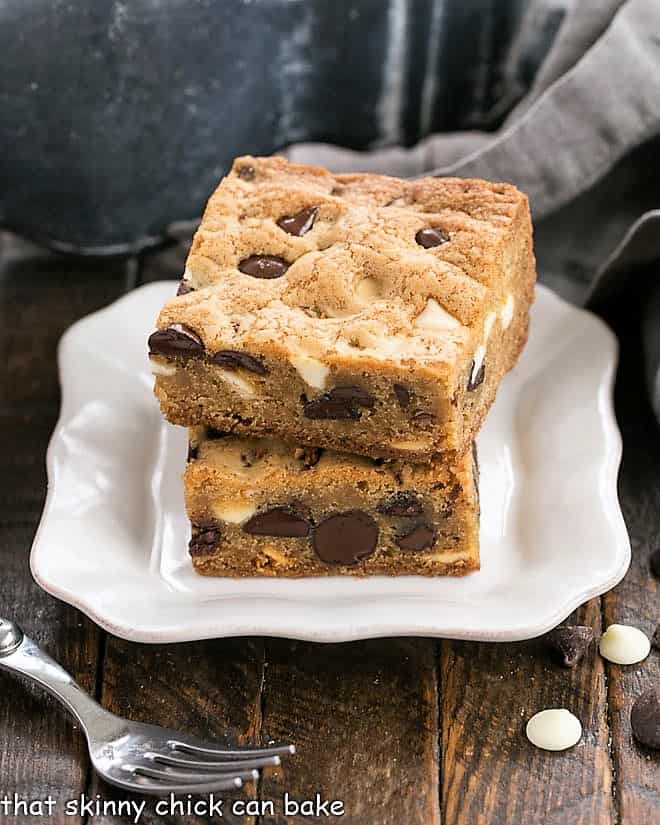
All ovens work differently and if your pan is a bit smaller, your bars will be thicker and take a few minutes longer. Typically, I make these in a 9 x 13-inch pan, but the thicker bars in this post were baked in an 8 ½ x 12-inch pan and took an extra 10 minutes in the oven.
You can use a toothpick to see if the center is cooked, but that works better with cakey bars. These chocolate chip cookie bars are dense and not cakey. The first batch is often a test batch, though they should be lightly browned across the top. Note that your kitchen will fill with a delicious aroma just before they are fully cooked.
Make sure to mark your recipe with the time it took for your oven to bake the bars properly. All ovens cook a little differently, so it’s terrific to have this information for your next batch.
If you like nuts, chopped and toasted pecans can be added for some crunch. Or you can just use one type of chocolate chip instead of three. Or substitute one of the chocolate chip varieties with some M&Ms.
These chewy chocolate chip bars are safe to store at room temperature for 3 to 4 days. Make sure to cover the top with foil so they don’t dry out. Lemon bars or cheesecake bars are best kept in the refrigerator as they are moister and will spoil if not kept chilled.
These cookie bars can also be frozen in an airtight container for up to 3 months. Defrost them overnight in the refrigerator and let them come to room temperature before serving.
You May Also Like:
- Peanut Butter and Jelly Bars from Saving Room for Dessert
- Raspberry Filled White Chocolate Bars
- Coconut Bars
- Mounds Bars
- Chocolate Mousse Bars
- More Easy Bar Cookies

Chocolate Chip Cookie Bars
An easy way to get the flavors of chocolate chip cookies without all the work!
Ingredients
- 1 cup butter (2 sticks), at room temperature
- ¾ cup brown sugar (I used dark brown sugar)
- ¾ cup sugar
- 2 eggs
- 1 ½ teaspoon real vanilla extract
- 1 teaspoon baking soda
- ½ teaspoon salt
- 2 ¼ cups flour
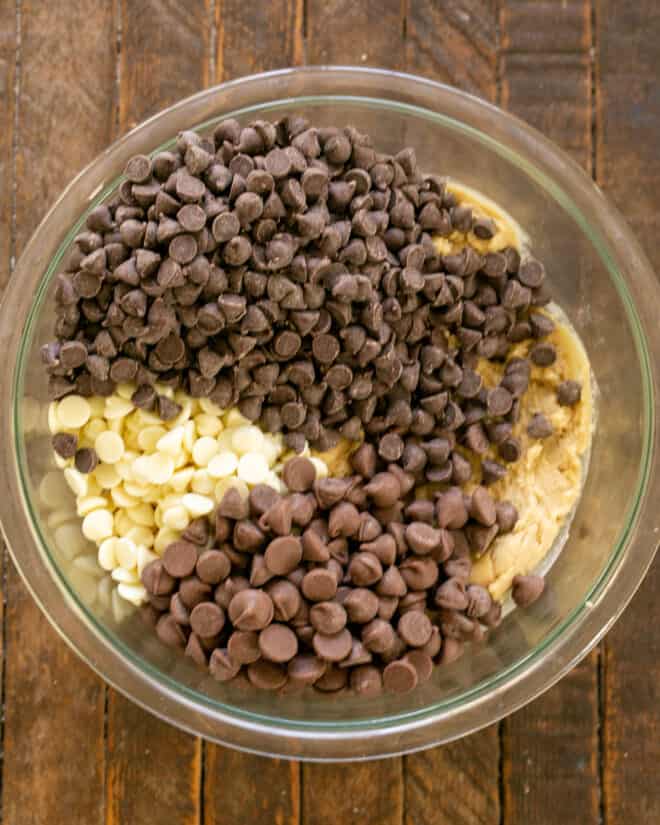
- 2 cups semisweet chocolate chips or 1 cup semisweet chocolate chips plus ¾ cup white chocolate chips and ¾ cup milk chocolate chips
Instructions
- Preheat oven to 375º.
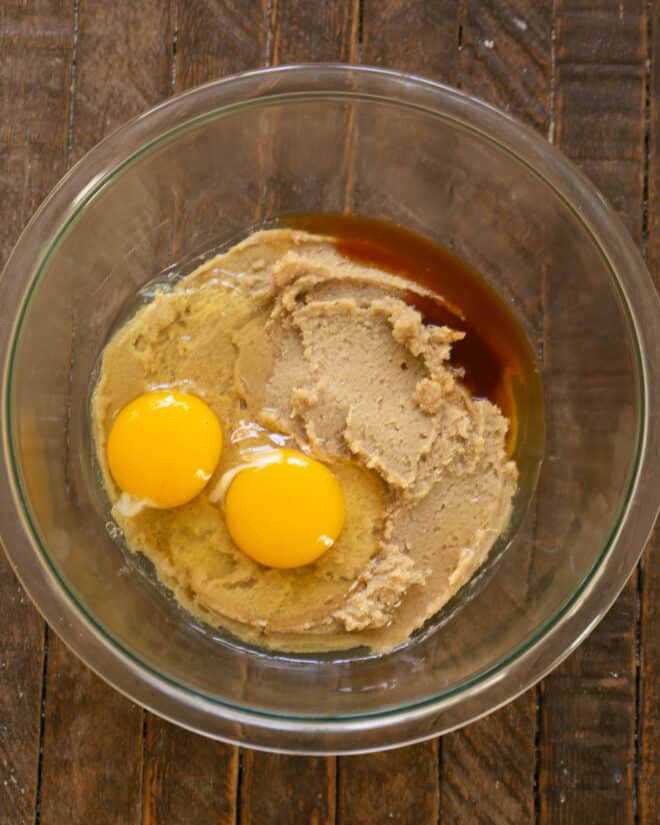
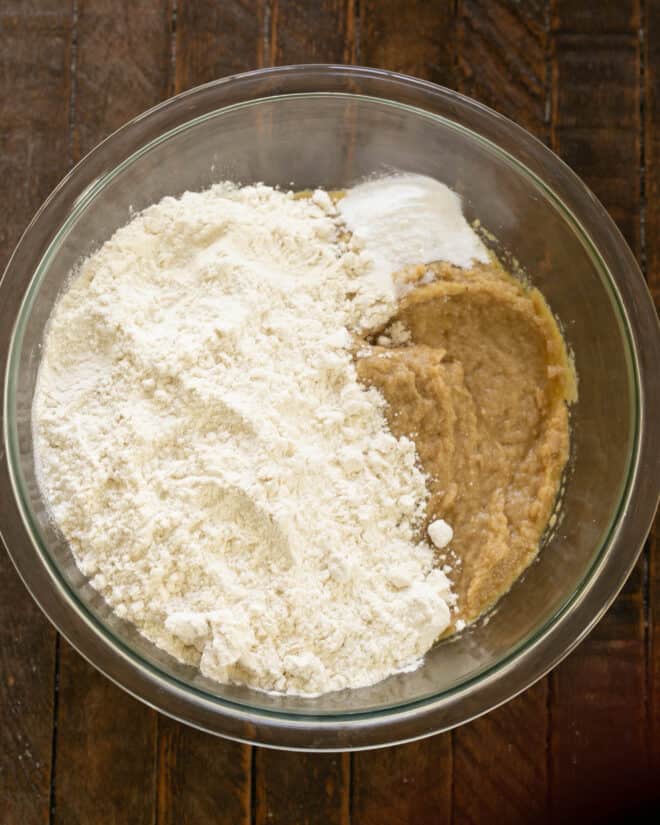
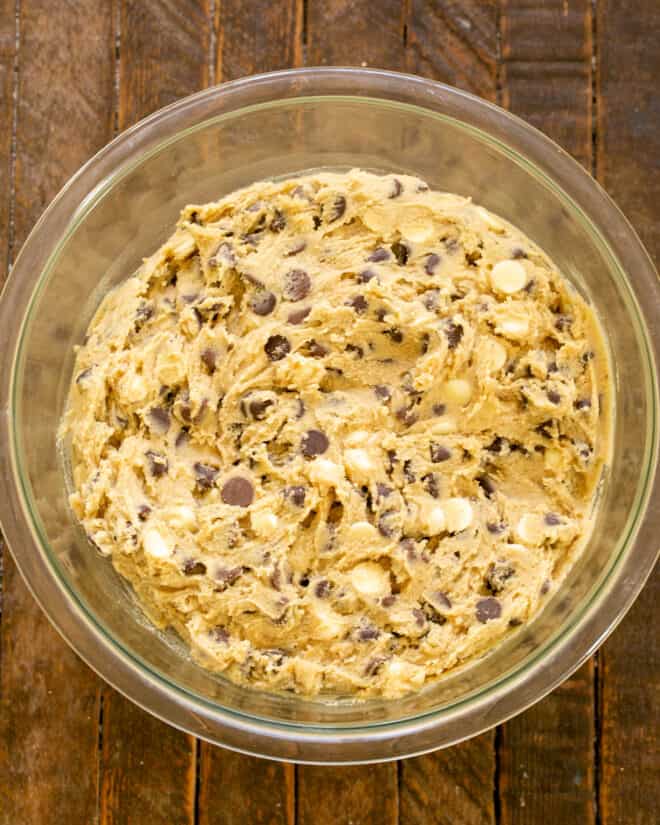
- Cream butter and sugars. Mix in eggs. Add vanilla, then dry ingredients. Mix well. Add chocolate chips.
- Spread in greased 9 x 13 pan. Bake for about 24 minutes.
- Use an 8 ½ x 12 pan for thicker blondies, but add a couple more minutes to the baking time.
Notes
Mix with a wooden spoon to prevent over-mixing which will encourage gluten formation.
Use a variety of chocolate chips or even M&Ms instead of all semisweet chips. Recipe adapted from Nestles. Reserve some chocolate chips, if desired, to carefully press into the fresh out-of-the-oven bars for a nice presentation.
Recommended Products
As an Amazon Associate and member of other affiliate programs, I earn from qualifying purchases.
Nutrition Information:
Yield:
24Serving Size:
1 barAmount Per Serving: Calories: 324Total Fat: 18gSaturated Fat: 11gTrans Fat: 0gUnsaturated Fat: 6gCholesterol: 38mgSodium: 176mgCarbohydrates: 41gFiber: 2gSugar: 30gProtein: 3g






18 Comments on “Chocolate Chip Cookie Bars”
Dear Liz, another wonderful recipe. Adding different kinds of chocolate to cookies or cookie bars always makes for great tasting sweet treats. Cookie bars are wonderful for sharing and keeping a few maybe for breakfast?!
Sending a big hug your way!
Andrea
Absolutely comforting ones for the circumstances we’re in. I hope you and your family are all right ! 🙂
I LOVE cookie bars!! I actually think I make them more than regular cookies, they’re so much easier to whip up for the kids!
I can always count on finding great comforting recipes here. Thanks, Liz!
Your tips are always spot-on! And these cookie bars look absolutely awesome. I was going to bake the skillet cookie but this may last a little longer.
These are always one of my faves! Now my mouth is watering. Hope you are doing well, Liz!
This looks fantastic and I love thick cookie bars like this…absolutely irresistible!
I want to eat the whole thing right now I love it but haven’t made it in years. Thanks for the reminder. I’ll have to make this soon
Lots of goodies and nice and thick! I’d call these breakfast cookies:@)
I really like how easy these bars are to make! Perfect for make ahead treats for the week!
These delicious bars couldn’t be any easier to make! One bowl and few minutes and you’re all set!
I’m so glad, Denine…my family would like me to follow suit!!!
These look great! It’s raining and gross out here right now, and you have inspired me to whip up a batch of them.
Thanks for letting me know, Eileen!!! That’s a huge compliment 🙂
Liz, I made these for a few of my DD’s friends and they LOVED them!! One is a culinary student and asked for the recipe. A hit for sure!
Thanks, Erica…this is my go to recipe when I’m short on time 🙂
Carole, Bill is a firm believer in “breakfast cookies” (his great aunt used that logic when he visited her as a child…and his mom was not thrilled!)
::sigh:: is it wrong that I’d like to have one for breakfast?
Liz……I’ve never baked these before but I will now, sure is easier then baking cookies. ……thanks for sharing this recipe, looks like I can whip it up fast.