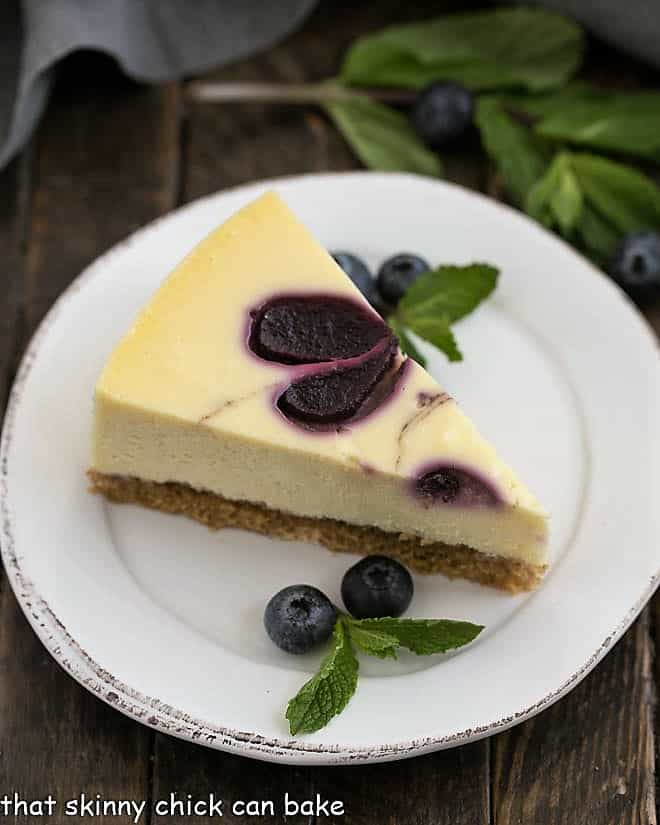
Blueberry Swirl Cheesecake
With sweet plump blueberries appearing in the produce department, it was only fitting to whip up a dreamy, luscious Blueberry Swirl Cheesecake!
A Blueberry Swirl Cheesecake Recipe is the perfect way to usher in a new season, when fresh berries are at their prime. A beautiful, delicious dessert is always a delicious addition to your menu!
Why You Must Make
- Swirling homemade blueberry sauce on the top of an unbaked vanilla cheesecake made for an extra-special, captivating, and tasty dessert.
- It’s perfect for spring or summer parties.
- You can rationalize that with the addition of berries, this is a healthier than average cheesecake, right???
This Blueberry Swirl Cheesecake Recipe took some trial and error. I saw a “Blue Ribbon” recipe online and gave it a whirl. But against my better judgment, I didn’t bake it in a water bath, and there were numerous cracks among the swirls after it finished cooling. Rats.
So plan B was to go back to my White Chocolate Raspberry Swirl Cheesecake and just replace the raspberries with blueberries. It was baked in a water bath. It stayed for 2 hours in the oven, one hour on and one hour off. And it was definitely more delectable with a silkier, smoother texture. More blueberry topping could have been swirled across the surface, but there’s no way I could make another and feed my crew three blueberry cheesecakes in a row! I think your family or guests will love this Blueberry Cheesecake, too.
Expert Tips
- What was genius about this blueberry cheesecake recipe is that after an hour, which wasn’t enough time to fully bake the cheesecake, the oven was turned off, and another hour of slow cooling (and cooking) occurred in a controlled environment.
- This method probably contributed to the lack of cracks in this cheesecake, which was especially helpful with keeping the blueberry swirls intact after baking and cooling.
- There is some thought that the humidity of the water bath also helps make a creamier cheesecake. I know that my Instant Pot Vanilla Cheesecake was truly one of the best-textured cheesecakes I’ve ever tasted. Too bad it was so small! Baked under pressure, surrounded by steam obviously worked some magic. So even though a water bath, AKA bain marie, is an extra step, I feel it’s fully worth the effort.
- PRO-Tip: Cheesecake tastes best when it’s not eaten fresh out of the refrigerator. Take it out before you start dinner, so that it has a chance to warm up a bit before you’re ready for dessert. It will be creamier that way!

Frequently Asked Questions
So many cheesecake recipes recommend baking in a water bath, it’s almost a given when I make a cheesecake. The logic is that the surrounding water keeps the cheesecake baking at a steady temperature. It’s the rapid changes in heat that can wreak havoc on a cheesecake.
Opening and shutting the oven a number of times most likely contributed to the cracking as the oven had to cycle back and reheat each time I peeked. PRO-Tip: Also, minimize the times you open the oven to prevent cracking.
There is some thought that the humidity of the water bath also helps to make a creamier cheesecake. I know that my Instant Pot Vanilla Cheesecake is truly one of the best-textured cheesecakes I’ve ever tasted. Too bad it was so small! Baked under pressure and surrounded by steam obviously worked some magic. So even though a water bath, AKA bain marie, is an extra step, it’s fully worth the effort.

You May Also Like:
- Mascarpone Cheesecake with Balsamic Strawberries,
- Hot Fudge Brownie Cheesecake
- No-bake Strawberry Cheesecake Lush Dessert
- Plus, more of my favorite Cheesecake Recipes.
- Make sure to check out more tips on my post on How to Make Cheesecake.
Blueberry Swirl Cheesecake
A luscious vanilla and almond kissed cheesecake with a blueberry swirl
Ingredients
Crust:
- 1 ¾ cups graham cracker or vanilla wafer crumbs
- 3 tablespoons sugar
- 4 tablespoons butter, melted
Blueberry Sauce:
- 1 ½ cups fresh blueberries
- 1 tablespoon sugar
- 1 teaspoon fresh lemon juice
Cheesecake:
- 2 pounds cream cheese, at room temperature
- 1 ¼ cups sugar
- 2 tablespoons flour
- 4 eggs, at room temperature
- 2 teaspoons vanilla
- ¼ teaspoon almond extract
- 2 tablespoons whipping cream
- Fresh blueberries and mint to garnish, optional
Instructions
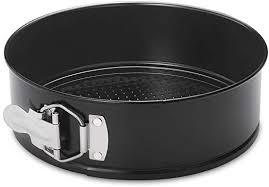
- Mix together crust ingredients and pat into the bottom of a greased 9-inch springform pan. Wrap the pan with heavy-duty aluminum foil and place it in a large baking pan (I use my roaster). Set aside.
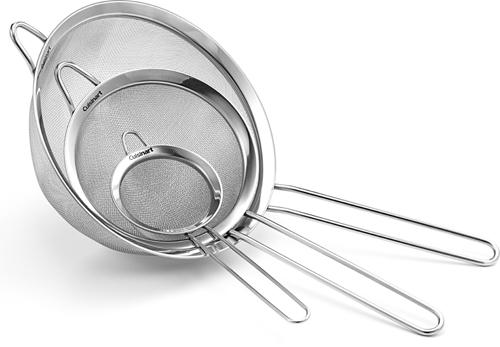
- To make the blueberry sauce, purée the berries in a food processor. Press the berries through a strainer to remove the seeds. Add 1 tablespoon of sugar and the lemon juice to the strained puree. Set aside.
- Preheat the oven to 350º.
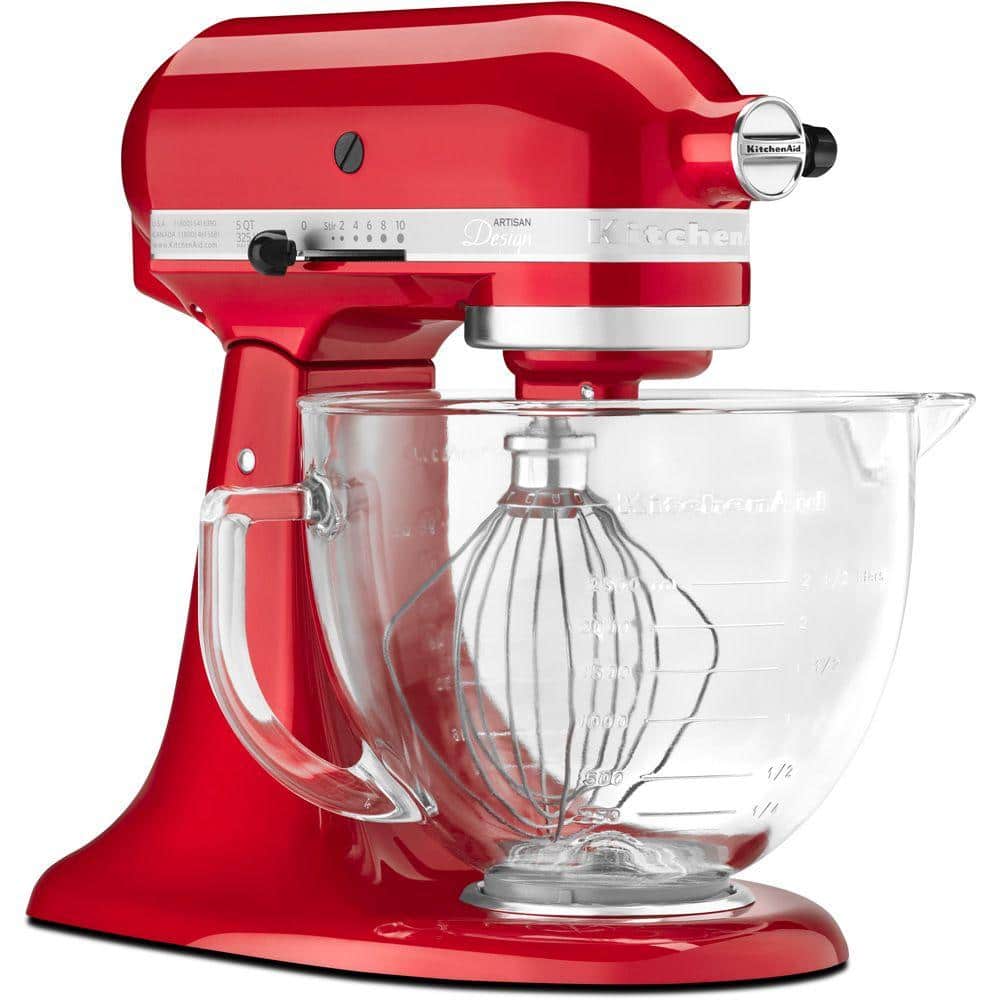
- Put the cream cheese in a stand mixer fit with a paddle attachment. Mix on low speed until smooth, about 1 minute. Add the sugar and mix until smooth, about 1 minute. Mix in the flour. Add the eggs, one at a time, mixing smooth after each addition, scraping down the sides of the mixing bowl after each addition. Add the vanilla and whipping cream. Pour the batter into the prepared springform pan.
- Spoon tablespoonfuls of blueberry sauce over the surface of cheesecake, leaving space between each dollop. Avoid getting any sauce too close to the edge of the pan. You may not need to use all your sauce (I used about ½ cup). Dip the spoon about ½ inch into the batter and swirl some of the sauce into the batter making a marbleized pattern. Do not over-swirl.
- Put the cheesecake in the oven and pour hot water into the large baking pan to reach 1 inch up the sides of the springform pan. Bake for about 1 hour or until the top appears set.
- Cool the cheesecake in the water bath for 1 hour. Remove the pan and cool on a wire rack for another hour. Chill for at least 6 hours or overnight before serving.
- Set out on the counter for an hour before serving. Garnish with fresh berries and mint if desired.
Recommended Products
As an Amazon Associate and member of other affiliate programs, I earn from qualifying purchases.
Nutrition Information:
Yield:
16Serving Size:
1 sliceAmount Per Serving: Calories: 383Total Fat: 26gSaturated Fat: 14gTrans Fat: 0gUnsaturated Fat: 9gCholesterol: 114mgSodium: 269mgCarbohydrates: 34gFiber: 1gSugar: 25gProtein: 6g


12 Comments on “Blueberry Swirl Cheesecake”
Oh very nice Liz! That blueberry swirl is so beautiful. Who could resist a slice, or two, of this perfect treat. I want some now please!
Lovin’ your little blueberry hearts/swirls! Your cheesecake looks great and I’m sure it has lots of big flavor with the blueberry-enjoy:@)
Babe, the floral design is so pretty! xoxo
Those swirls are mesmerizing, I would love to have this on my Easter table!
The cheesecake looks splendid with those beautiful swirls!
Wow! The cheesecake looks fabulous, moreso with that lovely swirl. And thanks for sharing the tips.
Well, come here my lovely cheesecake with summer fruits! yeah water bath is a must but great tip on the aluminum foil.
LOVE the blueberry swirl in here. Your cheesecakes are always a winner at our house!
I CANNOT wait to try this as I love your white chocolate and raspberry cheesecake. Blueberries are currently on special at our local grocery store so it makes perfect sense!!!
I’m hoping to take a trip in New York soon and visit Junior’s on Flatbush Avenue in Brooklyn for a slice of cheesecake. You make this looks so temptingly delicious 🙂
Yes! One of my NY blogger friends swears by her Junior’s recipe! I need to make one, too. Thanks!
I would be eating this right now for breakfast if it were on my table! Oh my fav is blueberry and raspberry so this one is a winner for me for sure!