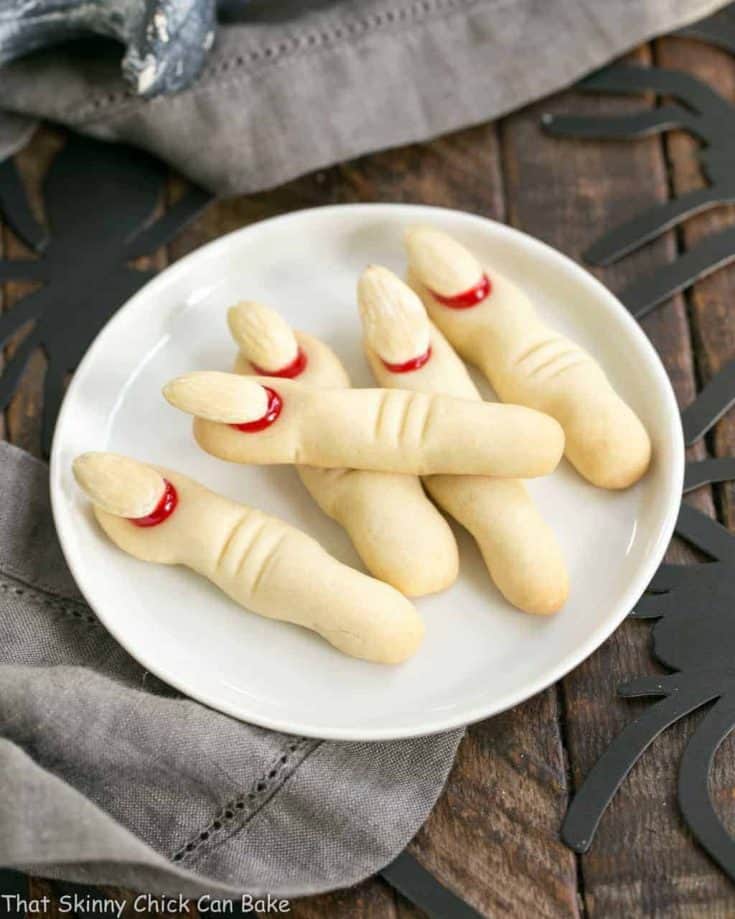
Witches Fingers Cookies
Whip up some gnarly Witches Fingers Cookies for Halloween. They’re a fun, not super spooky Halloween Treat. They will attract all sorts of attention as well as loads of compliments as they’re as tasty as they are creepy!
Even my nut hater husband enjoyed these spooked-up Halloween Sugar Cookies. He removed the almond “nail” and munched away!

Why You Must Make
- They were inspired by Martha Stewart. She loves Halloween!
- Sugar cookies are universally loved!
- They’re creepy without a lot of effort.
I remember seeing Martha Stewart make witches’ fingers cookies for Halloween years and years ago. If memory serves me right, I think her Halloween Cookies may have been colored a pale green!
Knowing they were basically sugar cookies shaped into fingers, I figured my family would happily indulge. Though, I was expecting the almonds to be sacrificed right into the garbage. Or maybe my mouth, if I could intercept them. They were a hit!

Expert Tips:
- PRO-Tip: If the dough gets warm after working with it, pop the bowlful of dough or the baking sheet filled with the rolled fingers into the fridge or freezer to chill the dough.
- Chilling should help prevent spreading when they’re baked.
- PRO-Tip: You can make the nails from whole almonds or sliced almonds. I could not find whole blanched almonds (without the brown skin), so I blanched them myself by quickly dipping them into boiling water, then running them under cold water, and slipping off the skin with my fingers. See details in the frequently asked questions below.
- I used red icing gel for the bloody nail beds. If you’d rather use something more natural, try some strawberry or raspberry jelly or jam in your finger cookies.

Frequently Asked Questions
Witches Fingers are cookies shaped like fingers. To make them look like they are from a witch’s hand, the nails are made of gnarly-looking blanched almonds, and the nail beds appear bloody by attaching them with red food gel.
Knuckly wrinkles are made by making slight indentations with the dull side of a table knife and the fingers are shaped by making symmetrical indentations along the sides of each finger.
Blanching almonds is the process of removing the dark skins of each almond by briefly adding them to a pan of boiling water. Let them boil for one minute, then remove them to a colander, rinse in cool water, and peel off the skins. Dry well before using.
You May Also Like
- Halloween Chocolate Bark by Life Tastes Good
- Spiderweb Cookie Cake
- Chocolate Mummy Cupcakes
- White Chocolate Monster Munch
- Candy Corn Cupcakes
- 20+ Halloween Treats
- More Easy Holiday Recipes
Witches Fingers Cookies Recipe
Gnarly finger cookies with almond nails are perfect for Halloween!
Ingredients
- 1 cup butter, at room temperature
- 1 cup powdered sugar
- 1 egg
- 1 teaspoon vanilla
- 1 teaspoon almond extract
- 2 ¾ cups flour
- 1 teaspoon baking powder
- ½ teaspoon salt
- Red gel frosting or red jam or jelly
- 60 whole blanched almonds or sliced almonds (one for each cookie)
Instructions
- Using a handheld mixer, in a large bowl, cream together the butter and sugar. Beat in the egg, vanilla, and almond extract.
- In another bowl, whisk together the flour, baking powder, and salt. Slowly add to the butter mixture.
- Wrap the dough in plastic wrap and pat it into a disk. Chill for at least 30 minutes.
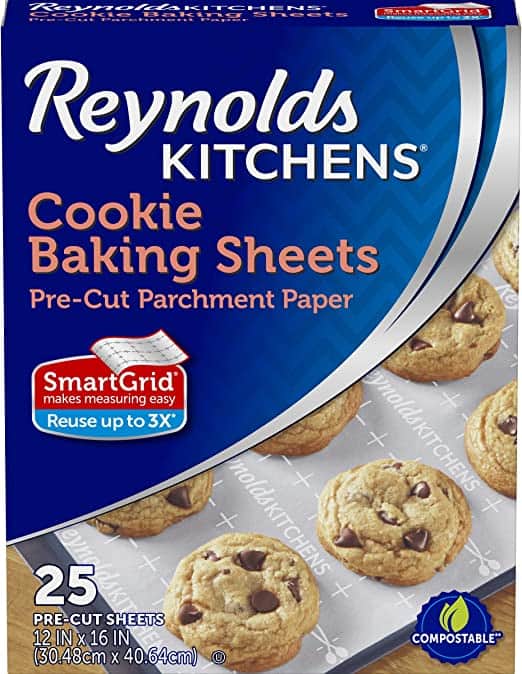
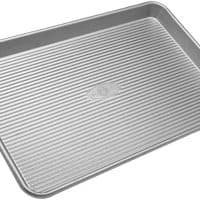
- Line baking sheets with parchment. Preheat oven to 325°.
- Scoop out dough and roll into 1-inch diameter balls. Then roll them into 3-inch long "fingers." Place the fingers on the baking sheets about 2 inches apart.
- When the baking sheet is full, use the dull side of a knife and make 3 parallel marks midway down the finger to represent a knuckle. Pinch in the dough above and below the knuckle to give the finger some shape. Using your index finger, press down a spot at the top of each finger for the nailbed.
- Place the baking sheet in the freezer for a few minutes while preparing the second baking sheet.
- Bake chilled fingers for about 15 minutes or until golden.
- Remove from oven and let cool for a few minutes. Next, squeeze a little of the red gel frosting on the nailbed and top with an almond. Let cool completely so the almond will adhere.
Notes
The chilling times will help decrease the potential spreading of the cookies. If your dough is crumbly, just add a touch of milk, drop by drop, until it's a better consistency.
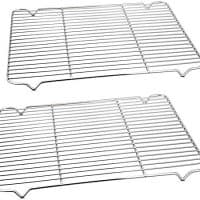
Recommended Products
As an Amazon Associate and member of other affiliate programs, I earn from qualifying purchases.
Nutrition Information:
Yield:
30Serving Size:
2 cookiesAmount Per Serving: Calories: 156Total Fat: 10gSaturated Fat: 4gTrans Fat: 0gUnsaturated Fat: 5gCholesterol: 22mgSodium: 119mgCarbohydrates: 16gFiber: 1gSugar: 5gProtein: 3g


26 Comments on “Witches Fingers Cookies”
You are so creative! These witches finger cookies look very realistic and perfect for any Halloween gathering. I bet they are melt in your mouth delicious.
Doesn’t get more fun that this for Halloween. Love the fingers with the almond for a nail! Looks so real..
I’ve wanted to make these for so long! I remember seeing Martha make them once. They look so great!
These are so creepy cool! What a fun and tasty Halloween treat!
These are so fun and cute! My kids love them!
How creative! These look amazing and my girls are going to love them for Halloween.
I love these! What an adorable idea, and perfect for Halloween!
These are so creepy in the cutest way possible!
such a clever idea for halloween!
I love how you turned a classic shortbread into yummy Halloween witch fingers then the blood is awesome!
These are the most realistic cookie fingers I’ve seen.
These are so adorable, Liz! I love the bloody nail beds :). (That’s a sentence I never thought I’d write.) Have a great week, my friend!
OMG, you’re such an artist! xoxo
Fantastic treat for Halloween! Pinning 🙂
These are FUN!!!! I don’t do Halloween but I love seeing all of the creative things people come up with.
Hope you were able to intercept the almond-haters in time, Liz. I imagine there were many eager hands “reaching out” to grab your scrumptious sugar cookies aka witch fingers =)
Natural or green tinted these are sure to please for Halloween!
These look so real! Great job.
These cookies are just right for Halloween, creepy and scary.
These look so fun! And so tasty.
Liz, these are great! I love the red underneath the almond nails. Perfect for a Halloween treat!
They had these at a Halloween party I attended last night. Not only were they adorable but they were delicious too.
These are absolutely adorable! Just creepy enough for Halloween, but not too scary to eat.
OMG! They do look very scary but I bet they tasted yummy as well 😀
Now that’s a dunker!!! Have a great Sunday Liz:@)
Haven’t made these witches fingers in years…they are my absolute Halloween treats, Liz.