How to Make Chocolate Shards
Making big, beautiful chocolate curls to garnish a dessert can be daunting. These Chocolate Shards are super easy to create and make for an elegant, impressive presentation!
This Chocolate Decoration for Cake, Cheesecake, Tarts, and more is super easy and will make you look like a professional cake decorator!
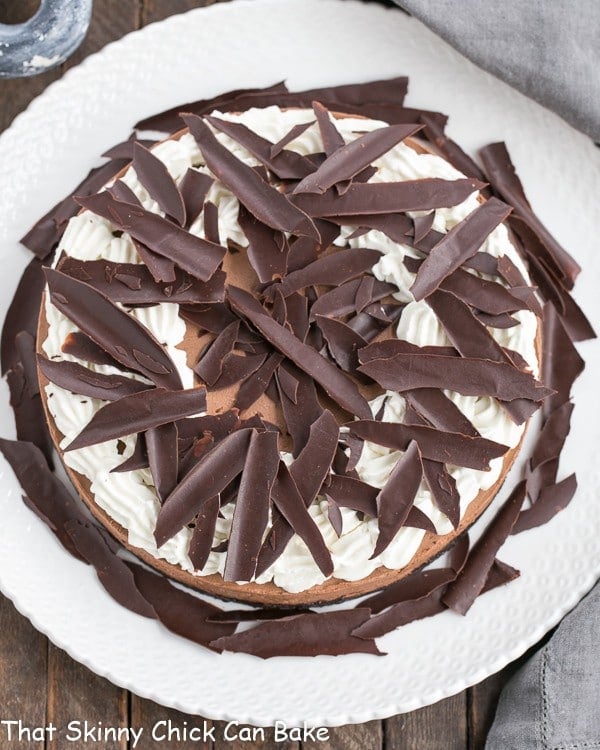
Why You’ll Love this Recipe
- Have you tried to use a peeler and a bar of chocolate to make curls? It’s definitely hit or miss. The chocolate melts in your hand. You end up with more crumbs than curls. They aren’t nearly as impressive as you’d imagined. I DO love the Pioneer Woman’s technique to make chocolate garnishes. It’s definitely a more reliable method to create big beautiful dark or white chocolate curls.
- But in my experience, you need about 4 ounces of chocolate to make 2 ounces of curls. Not ideal considering the cost of a chocolate bar.
- This recipe for chocolate shards is pretty much foolproof.
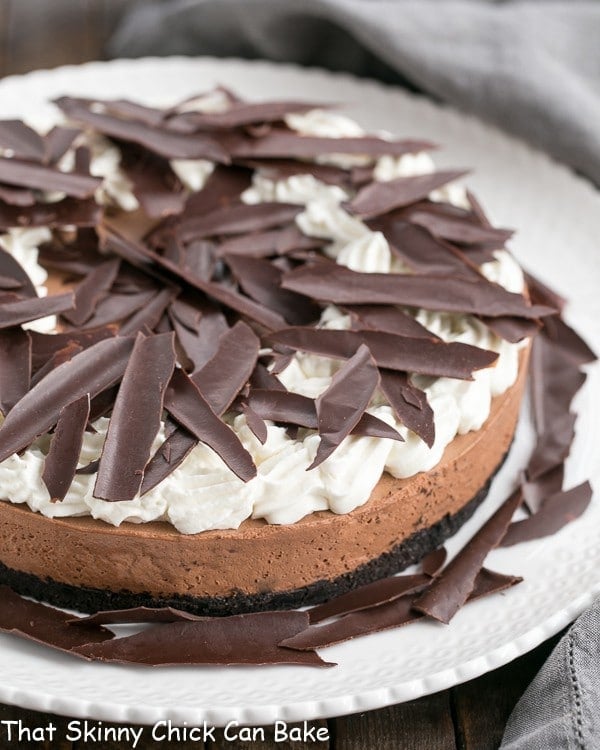
How to Make
- How many recipes have just one ingredient? Well, this one does. And it takes an ordinary dessert into the extraordinary realm!
- First, you melt some chocolate. Make sure it’s chopped fine. I like doing this in the microwave, but you must do it gently. Meaning stopping and starting at 30-second increments, stirring until smooth.
- Next, you spread it thinly over a sheet of wax paper and top it with another sheet of wax paper. The wax paper helps it from not sticking. I have not tested this with parchment paper, but it could work if your parchment has a bit of a sheen making it non-stick.
- The last step is to roll it up, chill for two hours, unroll, and, voila, you have chocolate shards! How can you NOT try this??? Watch the video to see how easy this “recipe” is to make.
You May Also Like:
- Check out my Easy Chocolate Mousse Tart that’s featured in these photos. It’s the perfect base for these chocolate shards.
- Chocolate Velvet Pie
- Mocha Chocolate Chip Cookie Icebox Cake
- More Homemade Chocolate Recipes
Chocolate Shards
An easy way to add a special touch to your chocolate desserts.
Ingredients
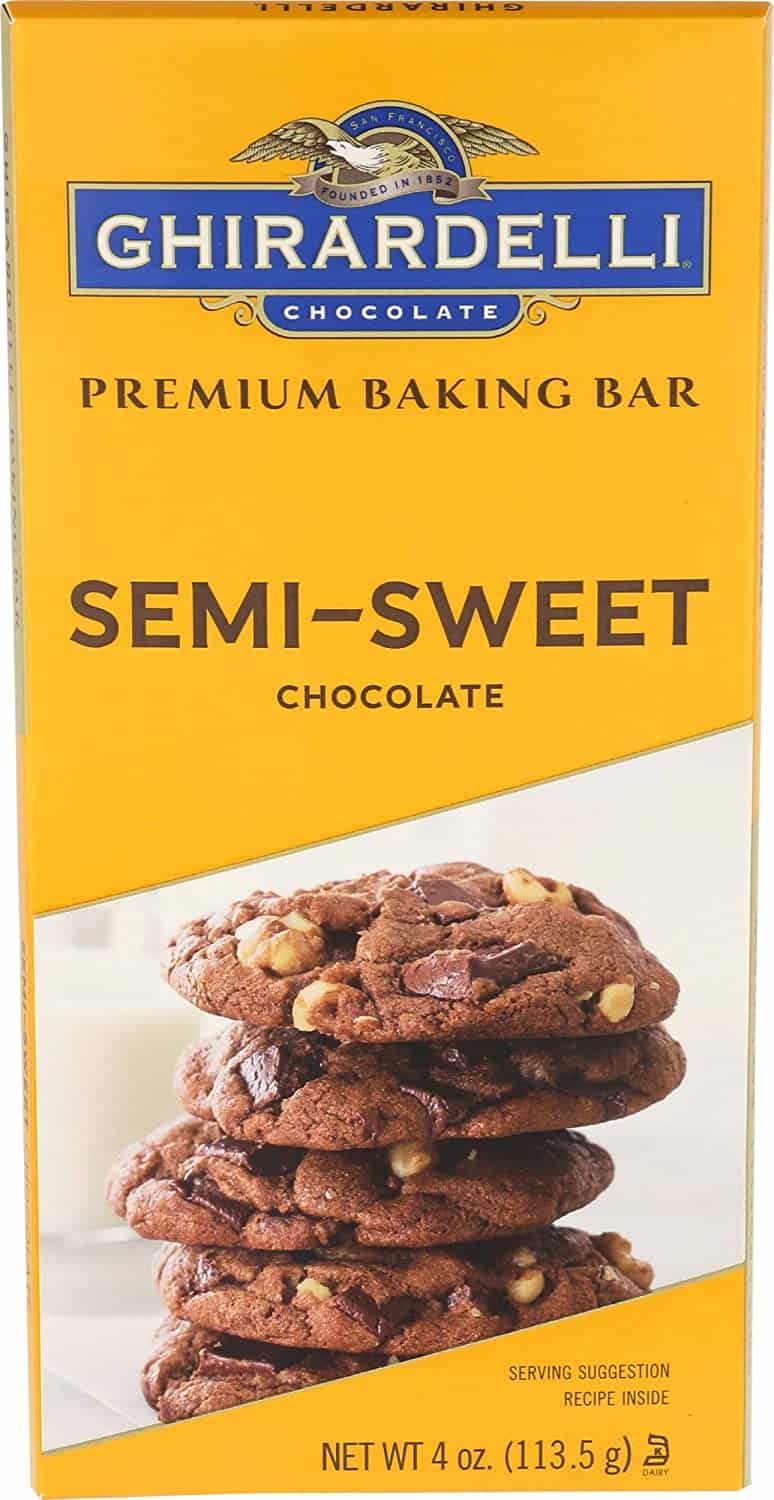
- 4 ounces semi-sweet chocolate, chopped (I recommend a 4 ounce Ghirardelli bar instead of chocolate chips)
Instructions
- Gently melt the chocolate in the microwave, stopping and stirring at 20-second intervals.
- Place a 16-inch sheet of waxed paper on a flat surface. With a small offset spatula, spread the melted chocolate evenly over the waxed paper, leaving the edges free of chocolate.
- Top with a second sheet of waxed paper and very gently smooth the top.
- Roll from short side to short side and carefully place the roll on a baking sheet.
- Chill for 2 hours.
- To make shards, hold onto the short end of the roll and unroll with your other hand. The chocolate should break into pieces.
- Remove the top sheet of waxed paper and carefully (so as not to melt chocolate) move shards to the top of the dessert or to a container.
- Keep the shards cool if not used immediately.
Notes
Total time does not include 2 hour chilling time.
Recommended Products
As an Amazon Associate and member of other affiliate programs, I earn from qualifying purchases.
Nutrition Information:
Yield:
10Serving Size:
1/10 of batchAmount Per Serving: Calories: 54Total Fat: 3gSaturated Fat: 2gTrans Fat: 0gUnsaturated Fat: 1gCholesterol: 0mgSodium: 1mgCarbohydrates: 7gFiber: 1gSugar: 6gProtein: 0g






26 Comments on “How to Make Chocolate Shards”
This came out marvelously! The receipe made beautiful thin chocolate shards. I did not see how to leave a rating; This is 5 stars for sure. Very easy to make with a great result. Thank you for the receipe.
I’m so glad, Tom!! You can leave a rating in the recipe card if you’d like.
Hi
I tried making this but it kept melting
What should I do please help
Hi, Aparna,
Sorry this is happening to you. I haven’t had that problem, but I’m thinking your kitchen may be too warm. Did you chill for 2 hours and have success making the shards? If so, just keep them cold until you’re ready to serve the dessert. Use a chopstick or utensil to move them so your body temperature doesn’t soften them. Let me know if that helps or give me more details and I’ll try to troubleshoot for you!
So easy. Thanks for the tips 🙂
Just in time for Valentine’s day! Thanks for the video too, it helps!
????
so cool!!
thank you Liz this makes it a whole lot easier..so simple and so fantastic. Thank you xoxo
Aww, thank you, Beverly!! You are the queen of beautiful garnishing!
I hope this is the first of many videos and your technique is by far the easiest.
Hi Liz, it’s amazing how simple this fool-proof technique is, thanks for sharing.
I can’t remember the last time I tried to make shards but I knwo it was a disaster. Love this recipe I am so pinning, fool proof! Nice video too!
Liz, this looks awesome and makes me look like a pro baker. Woohoo!
Wonderful bake, dear! Anything chocolaty makes me weak…… Have a great week! xoxo
Agreed! I must try your chocolate shards technique. They simply elevate desserts in a divine fashion =)
Are you kidding me? This is something that must be tried. And who doesn’t want these beauties to decorate with?
This is awesome! Thanks so much Liz, I love it!
I use a knife on my frozen chocolate….this is ingenious!
So pretty, Liz! These chocolate shards are just what I need on my chocolate cake! 🙂
A really cool way to make chocolate shards!
daunting but they look gorgeous on cakes as deko. I think it’s difficult to make shards in the heat. everything just melt away. However I feel save your post for later. I know I will need your tips when making choco deko. Thanks for the share Liz!
Fantastic! Thank you so much Liz. I have to try this – and love your video!
This is awesome Liz! I have never tried making my own, the food channel makes it too complicated! This is a creative and great tip thank you so much!
Elegant and easy:@)
That is really clever! I have to try it. Working with chocolate in tropical weather is no fun. It melts everywhere 🙁