Cheesecake Filled Red Velvet Cake
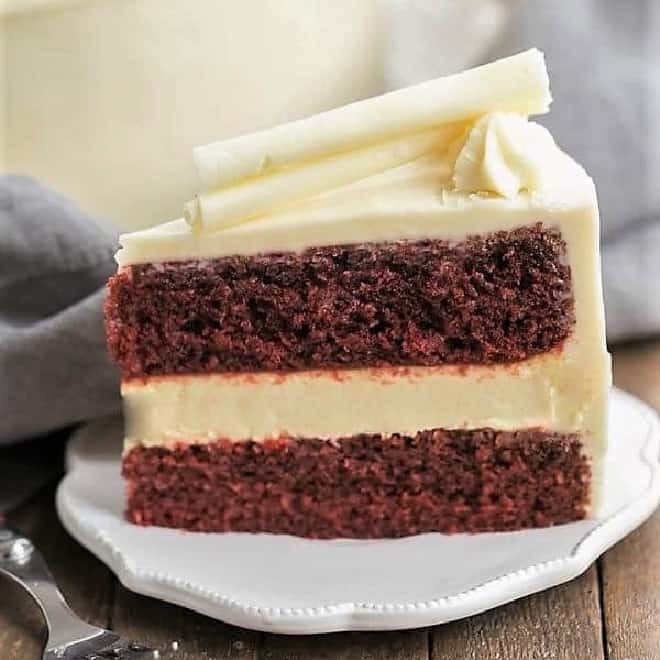
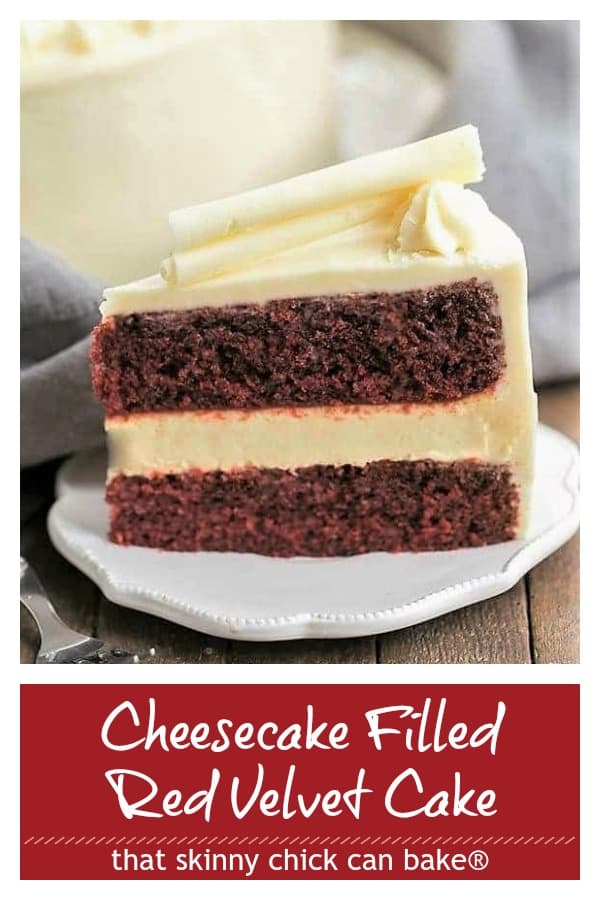
Special days deserve an impressive homemade cheesecake dessert. Whether for a dinner party, special birthday or Valentine’s Day, this Cheesecake Filled Red Velvet Cake will make for a spectacular dessert!
If you love cheesecake and red velvet cake, you can have both in every single bite!
Cheesecake Filled Red Velvet Cake
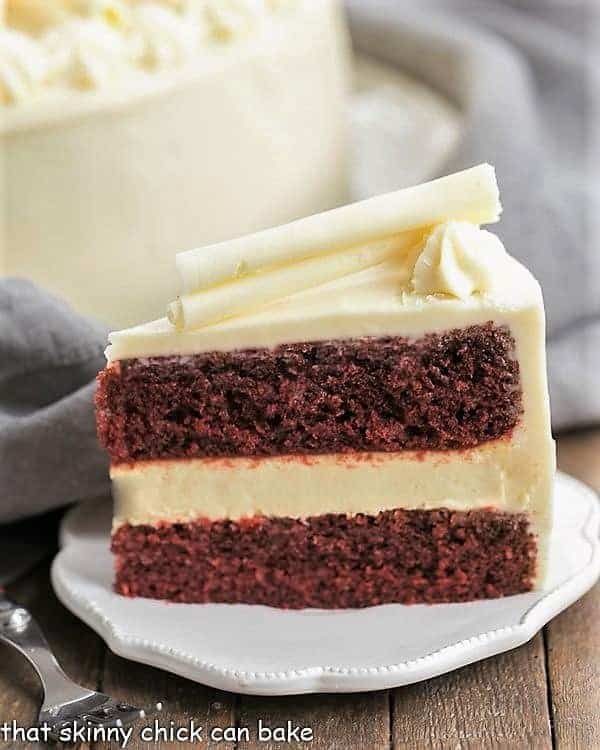
With Valentine’s Day approaching, it’s time to pull out all the stops. I love making a classic red velvet cake since the color is perfect for the holiday. But in this delectable recipe, tender red velvet cake sandwiches an exquisite vanilla cheesecake, and then is iced with cream cheese frosting. Lots of steps, lots of ingredients, lots of swooning when the forks meet the mouths. I took this gem of a cake to a dinner party and despite our full bellies, we all were able to finish a slice.
Can You Make This Dessert Ahead of Time?
Yes! Both cheesecake and layer cakes freeze well. You can easily make both ahead of time, wrap well and keep in the freezer until you need to assemble. To defrost, place in the refrigerator overnight. The next day, frost as desired. It’s much less daunting if you don’t dirty up every bowl and measuring cup in your kitchen in one afternoon! I just know you’ll love this cheesecake filled red velvet cake.
Note that Danielle’s recipe below has you freeze each component. You can definitely assemble after you bake, but I’d recommend chilling the cheesecake overnight to let it firm up.
Tips for Making this Cheesecake Filled Red Velvet Cake
- Since you can freeze both the cheesecake layer and the red velvet layers, you can easily make this in steps and finish assembly on the day or the day before serving.
- When you make the components, have all your refrigerated items at room temperature. This is especially necessary for the eggs and cream cheese for the cheesecake.
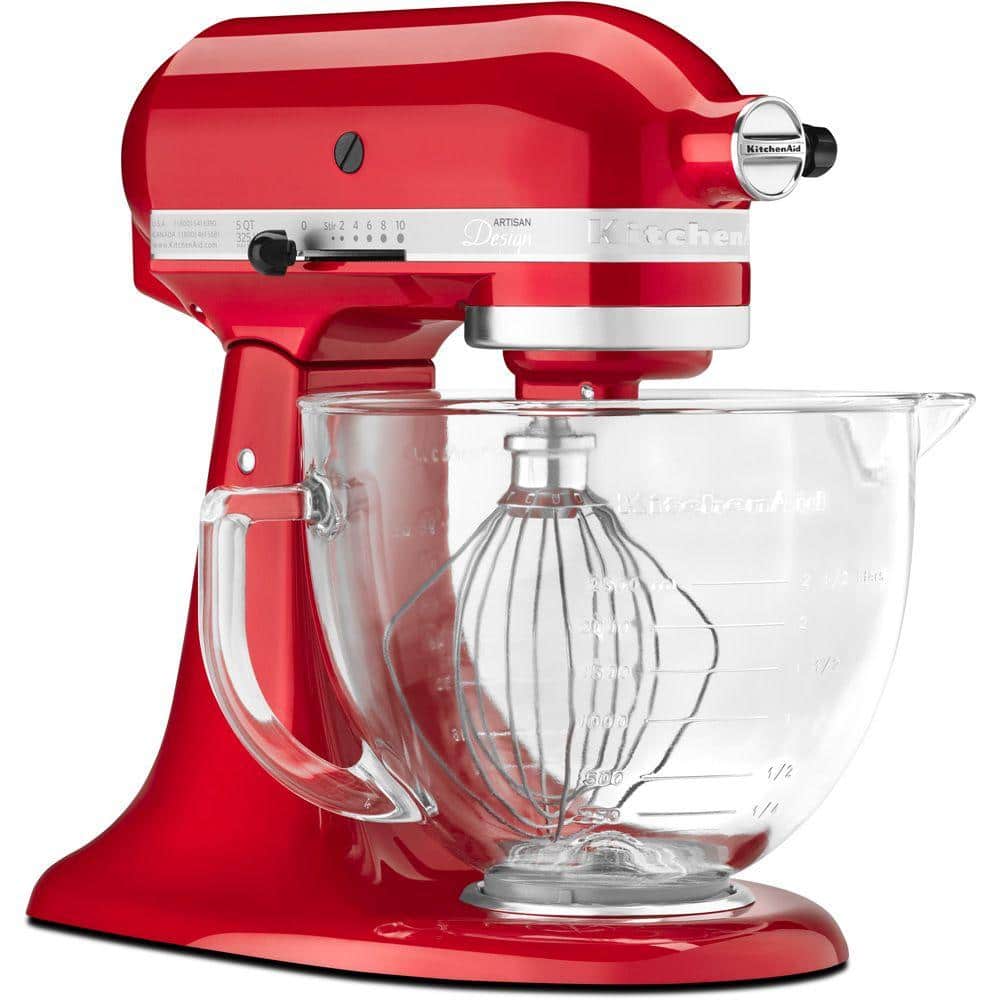
- To make a cheesecake with the best texture, use a stand mixer with the paddle attachment. The whisk adds extra air into the batter and the resulting cheesecake won’t be as dense and creamy. But if you don’t have a stand mixer you can still make this delicious dessert.
- With the cheesecake, mix in the eggs one at a time, waiting until the last is incorporated before adding the next.
- I usually recommend baking a cheesecake in a water bath, or bain marie, to prevent cracking. Since this cheesecake will be covered by a red velvet layer, it’s not necessary.
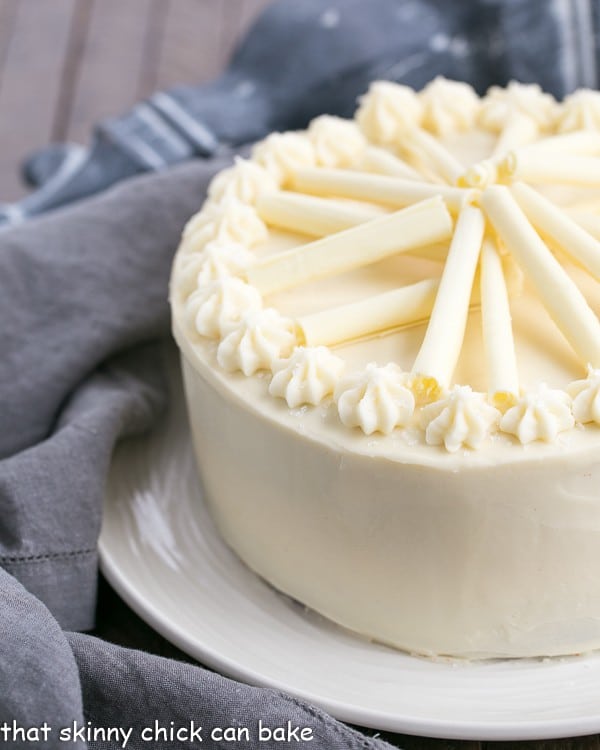
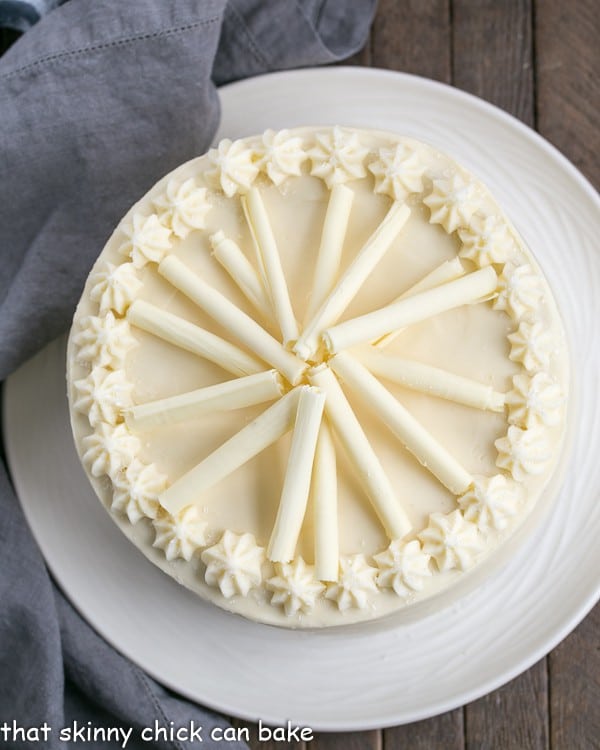
- You can decorate the top of the cake or just leave it with a smooth layer of frosting. I piped stars and made chocolate curls with white chocolate. You could easily shave a white chocolate bar with a vegetable peeler and top slices with the smaller curls/shavings as you serve the cake.
Two Sweetie Pies
Thanks again to my lovely friend, Danielle, for another magnificent recipe! She is my go-to blogger for decadent treats. I promise you will love whatever you try from her blog!!! We share a recipe from each other’s sites every second Monday of the month.
Stop by her blog to see Danielle’s take on her Red Velvet Cake and Cheesecake with Cream Cheese Frosting as well as her social media sites! Make sure to check out which of my recipes she made this month, too.
Hugs & Cookies XOXO – Facebook – Pinterest – Twitter – Instagram
More Cheesecake Recipes You’ll Love:
If you love caramel desserts, don’t miss this Caramel Cheesecake. This White Chocolate Raspberry Swirl Cheesecake is another dreamy cheesecake or if you want an easier recipe, try these Red Velvet Cheesecake Swirl Brownies.
A few recipes I’ve had my eye on include this Traditional Lemon Cheesecake Recipe from Pint Sized Baker, this New York Style Cheesecake from Brown Eyed Baker as well as this Crème Brûlée Cheesecake from The Food Charlatan
Used in This Recipe:
- 9-inch Springform Pan
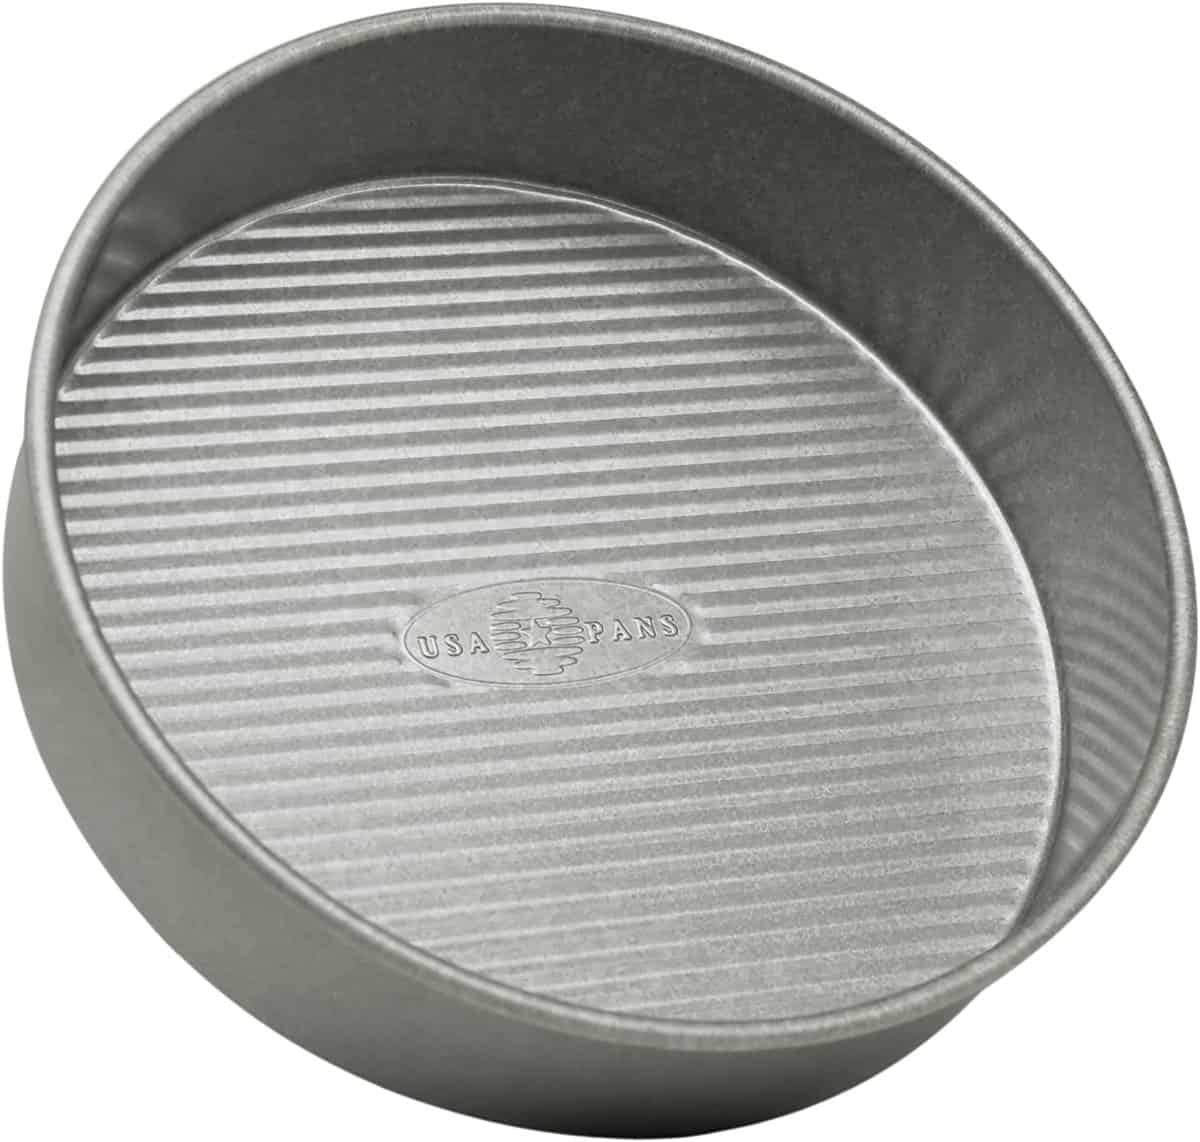
- Round Cake Pan, 9 inch (You’ll need two)
- Small Offset Spatula (Great for smoothing batter)
- Large Icing Spatula (Great tool for spreading frosting)
Cheesecake Filled Red Velvet Cake Recipe
A glorious combination of the classic red velvet cake, vanilla cheesecake and cream cheese frosting!
Ingredients
Cheesecake:
- 16 ounces cream cheese, at room temperature
- ⅔ cup sugar
- ⅛ teaspoon salt
- 2 eggs, at room temperature
- ⅓ cup sour cream
- ⅓ cup heavy cream
- 1 teaspoon vanilla extract
Red Velvet Cake:
- 2 ½ cups flour
- 1 ½ cups sugar
- 3 tablespoons cocoa powder
- 1 ½ teaspoons baking soda
- 1 teaspoon salt
- 2 eggs
- 1 ½ cups canola oil
- 1 cup buttermilk
- ½ bottle red gel food coloring
- 2 teaspoons vanilla
- 2 teaspoons white vinegar
Cream Cheese Frosting:
- 2 ½ cups powdered sugar, sifted
- 16 ounces cream cheese, at room temperature
- 8 tablespoons salted butter
- 1 tablespoon vanilla
Chocolate curls:
- 4 ounces white chocolate (I used Ghirardelli)
- 1 ½ teaspoons shortening
Instructions
- To make cheesecake, preheat oven to 325 degrees F.
- Spray 9-inch springform with nonstick cooking spray and line with a parchment circle. Set aside.
- Using the paddle attachment of your stand mixer, beat cream cheese smooth. Add sugar and salt and mix until combined.
- Add eggs, one at a time, scraping down the sides as needed. Add sour cream, cream, and vanilla and mix until smooth.
- Pour the batter into the pan and bake for 45 minutes. Cool and then freeze in pan.*
- To make the cake, preheat the oven to 350 degrees.
- Grease/flour 2 9-inch cake pans (I use Baker's Joy spray).
- In a mixer with the whisk attachment, blend the flour, sugar, cocoa powder, baking soda, and salt.
- Add eggs, oil, buttermilk, food coloring, vanilla and vinegar. Beat until smooth and divide between 2 pans.
- Bake for about 30 minutes or until a toothpick inserted into the middle of the cakes comes out clean.
- Let cool in pan for about 10 minutes and then invert onto cooling rack. Once cool, you can wrap in plastic wrap and freeze.*
- To make the frosting, beat powdered sugar, cream cheese, butter, and vanilla until smooth.
- Place one cake layer on a cake stand, top with cheesecake (remove parchment), and then top with the next cake.
- Spread a thin layer of frosting all over the cake (a crumb coat) and chill for 30 minutes. Frost the rest of the cake.
- Use any leftover frosting to pipe roses or stars around the perimeter of the cake.
- Gently melt Ghirardelli white chocolate and shortening in the microwave.
- Spread thinly on a cookie sheet.
- Chill until set and push with a metal spatula to form curls. If they break, let the chocolate soften for a few moments and try again.
Notes
Recipe adapted from Recipe Girl via Hugs and Cookies XOXO.
These directions are to make the cake and/or the cheesecake ahead of time. Just wrap well in plastic wrap and a layer of foil when cool (keep the cheesecake in the pan). Freeze until needed. Defrost in the refrigerator overnight.
*You can also assemble after baking the components. I’d recommend letting the cheesecake chill overnight to allow it to firm up before proceeding with the recipe.
Recommended Products
As an Amazon Associate and member of other affiliate programs, I earn from qualifying purchases.
Nutrition Information:
Yield:
16Serving Size:
1 sliceAmount Per Serving: Calories: 773Total Fat: 53gSaturated Fat: 20gTrans Fat: 0gUnsaturated Fat: 29gCholesterol: 130mgSodium: 548mgCarbohydrates: 68gFiber: 1gSugar: 52gProtein: 9g



37 Comments on “Cheesecake Filled Red Velvet Cake”
My favorite cake ever!
This is soooo decadent! Even better than just cream cheese frosting!
A stunning dessert!
This is really gorgeous! Perfect dessert for Valentine’s Day!
Perfection, I could eat the entire thing myself!
It doesn’t get any better than this! The best dessert!
Nice recipe thanks for sharing
I was so excited to find my two favorites together and I was nervous this would be hard to make. Not only did it come out delicious but it was easy enough for me to make it! I am in love!
I made this tonight for a birthday cake. Wow! It was very delicious and very yummy. My kids and my family loved it. Thanks for sharing good cake recipe.
I’m so glad! It’s one of my daughter’s favorite cakes!!
If you’re going to indulge you might as well go all out. Your decorations are beautiful!
Wow, full or not I would still want a slice of this beautiful dessert 🙂
This is just stunning, Liz. Red velvet with cream cheese icing is my hands down favorite!!!
This is beyond gorgeous, Liz!
Absolutely beautiful cake dear Lizzy 🙂
What sweet decadence! This cake is truly a showstopper.
This looks gorgeous and absolutely delicious! I lovelovelove cheesecake so a red velvet cake with cheesecake sounds like heaven. I love those white chocolate curls, too!
Cheesecake in the center of cake! Wow…decadent and yummy!
This combines everything I love in one gorgeous dessert. I can’t tell you how much I looove this and neeeed this!
WOW!!!! This looks amazing! Who needs cream cheese frosting when you can have cheesecake!
Wow! Your cake is gorgeous, Liz, and it has to be mouthwatering delicious! It would win anyone over on Valentine’s Day! ☺
Liz, you truly are the master of the beautiful cut! That cakes looks wonderful and the combination of red velvet and cheesecake are a dream! What a perfectly decadent dessert for Valentine’s Day.
Wow – that is awesome!!!! And, it just looks beautiful Liz.
WHAT?!??!?!??! Are you TRYING to make my brain explode with sweets lust>?!?!?!? This looks amazing!!!! – http://www.domesticgeekgirl.com
Amazing. Your cakes are always so perfect. I love how the layers are so uniform. I haven’t given much thought to Valentine’s Day! I must get my act together. I go back to uni on Monday for another year – dreading it! xx
What a show-stopping cake, Liz! The surprise cheesecake filling puts this over the top in the best way!
This cake is truly fantasy, Liz. This could be a nice surprise for Valentine’s Day!
Hi Liz, I certainly would of made room for a slice of this too. So brilliantly put together a real showstopper!!
Special days indeed deserve an impressive dessert. And this beautiful cheesecake filled red velvet cake would make a perfect Valentine’s Day, dessert! Stunner.
absolutely stunning cake!
That’s a calorie bomb, but I am going to risk it! It looks magnificent, Liz.
Parfait fo St Valentine’s day! So pretty and stunning! xo
That’s a pretty cake, dear! xoxo
Liz it is STUNNING! and those currrrrrls!!!!!!!!!
I wish I could have a slice right now!!!
Love
Truly a show-stopper:@)
Perfect treat! Thank you and have a pleasant week !