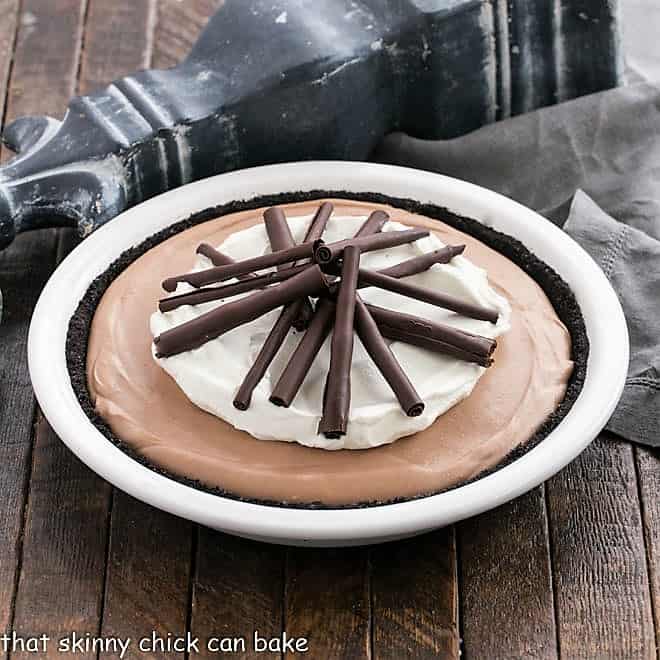
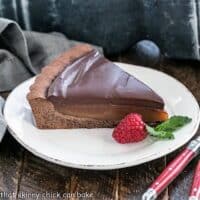
Candy Bar Pie
Save this Chocolate Candy Bar Pie for the holidays, a special occasion, or when you can’t ignore those chocolate cravings one more second! The filling is silky and phenomenal. I started with just a sliver, then went back for about 17 more!!
The chocoholics in my family were all huge fans of this decadent Marshmallow Chocolate Pie Recipe. You will be, too.

Candy Bar Pie
Bill’s Aunt Alice was a spectacular cook. We were always treated to a gourmet, multi-course meal when visiting her. I have scads of recipe cards written in her tidy penmanship. I never left her house without asking for at least one, if not more of her recipes. She made excellent, flaky pie crusts, one of her specialties.
She had a couple of chocolate pies that I made frequently as a newlywed, one with a meringue crust and this one with a cookie crust. It was high time I revived some of these long-forgotten favorites. I’m certain I used Hershey bars back in the day (thus the name of this dessert!), but I now keep a stash of Ghirardelli chocolate bars on hand. I couldn’t resist remaking this candy bar pie.

How to Make this Marshmallow Chocolate Pie Recipe
- Make chocolate cookie crust and freeze. Or just purchase a pre-made Oreo cookie crust. The homemade version is a little crumbly, but I prefer making the crust from scratch using real butter.
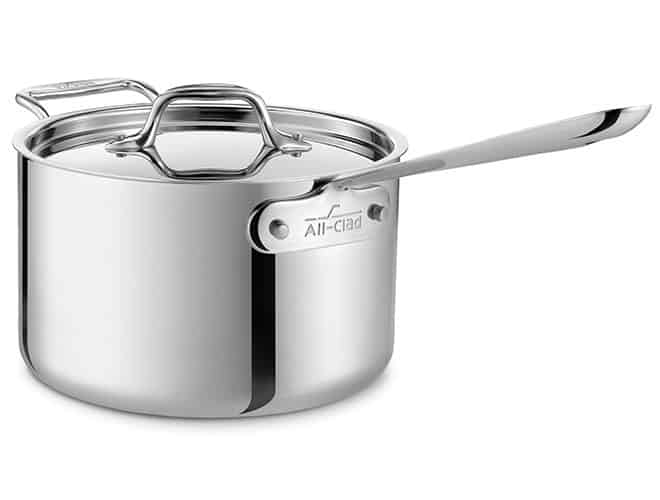
- Combine the marshmallows and milk in a saucepan and cook until melted. Add the chocolate and let the residual heat melt it.
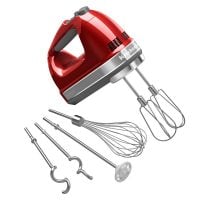
- Whip cream and fold into the chocolate mix after letting it chill for 10 minutes.
- Pour the filling into the crust, chill, then garnish with chocolate and cream.
- Check out my tutorial on How to Make Chocolate Curls if you’d like to give them a try. They’re perfect to top this candy bar pie.
How to Make Perfect Whipped Cream
Getting the perfect consistency when whipping cream takes a little practice. Not beating long enough will make a mound of whipped cream slump. Overbeating will make the cream deflate and get lumpy. Though both scenarios can be fixed (beat longer for under beating and add more cream for overbeating), it’s nice to get it right the first time! Besides this Candy Bar Pie, many desserts are complemented by a dollop of freshly whipped cream.
- First, chill your bowl for about 15 minutes before you plan to whip the cream. The cold bowl helps to stabilize the cream, making it less likely to separate.
- You’ll only need 3 ingredients: Heavy Cream (with at least 36% fat), Powdered Sugar, and Vanilla Extract. PRO-Tip: The cornstarch in powdered sugar also helps stabilize the whipped cream, so I prefer using it over granulated sugar. Feel free to use any sweetener you like.
- Place the cream, sugar, and vanilla in the chilled bowl and beat on medium-high to soft peaks with a hand or stand mixer fitted with the whisk attachment. You could also whisk by hand but that will take a LOT longer.
- Watch carefully, as over whipping can cause a grainier cream as the butter and buttermilk can separate. According to Fine Cooking, “Soft peaks barely hold their shape. The peaks flop over immediately when the beaters are lifted.”
- Feel free to use other flavorings like citrus zest, cocoa, liqueurs, or extracts besides vanilla.
More Chocolate Desserts You’ll Love:
- Flourless Belgian Chocolate Cake from The View from Great Island
- Chocolate Cream Pie
- Best Chocolate Cake Recipe
- Double Chocolate Cheesecake
- More Homemade Chocolate Recipes
This Candy Bar Pie recipe was first shared in October 2012. Photos and text were updated in 2020.
Candy Bar Pie
Recipe from Bill's Aunt Alice
Ingredients
Crust:
- 25 Nabisco Famous Wafers, crushed
- 1 tablespoon sugar
- 4 tablespoons butter, melted
Filling:
- 20 regular marshmallows
- ½ cup milk
- 1 ½ cups heavy cream, divided
- 2 tablespoons powdered sugar
- Grated chocolate or chocolate curls, to garnish, optional
Instructions
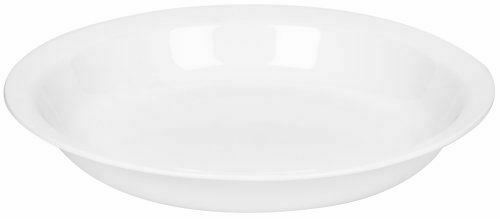
- Combine crushed cookie crumbs, sugar, and butter. Pat into a 9-inch pie plate and freeze.
- In a medium saucepan, combine marshmallows and milk. Cook over low heat, stirring occasionally, till melted.
- Add chocolate chunks and remove from heat. Stir until melted. Refrigerate for 10 minutes.
- Whip the 1 cup cream and fold it into chocolate. Pour into shell and refrigerate for at least 3 hours.
- To serve, whip ½ cup whipped cream with powdered sugar and either top the pie with cream or garnish each slice with a dollop of whipped cream and grated chocolate.
Notes
Can use a premade Oreo crust if desired.
Recommended Products
As an Amazon Associate and member of other affiliate programs, I earn from qualifying purchases.
Nutrition Information:
Yield:
8Serving Size:
1Amount Per Serving: Calories: 344Total Fat: 25gSaturated Fat: 15gTrans Fat: 1gUnsaturated Fat: 8gCholesterol: 67mgSodium: 128mgCarbohydrates: 30gFiber: 0gSugar: 20gProtein: 3g
Thatskinnychickcanbake.com occasionally offers nutritional information for recipes contained on this site. This information is provided as a courtesy and is an estimate only. This information comes from online calculators. Although thatskinnychickcanbake.com attempts to provide accurate nutritional information, these figures are only estimates. Varying factors such as product types or brands purchased can change the nutritional information in any given recipe. Also, many recipes on thatskinnychickcanbake.com recommend toppings, which may or may not be listed as optional and nutritional information for these added toppings is not listed. Other factors may change the nutritional information such as when the salt amount is listed “to taste,” it is not calculated into the recipe as the amount will vary. Also, different online calculators can provide different results. To obtain the most accurate representation of the nutritional information in any given recipe, you should calculate the nutritional information with the actual ingredients used in your recipe. You are solely responsible for ensuring that any nutritional information obtained is accurate.


6 Comments on “Candy Bar Pie”
This pie is amazing! The filling is so silky and rich. It is a new favorite for us!
This Chocolate Pie is making us Droooool – Liz! You are amazing with your desserts! Can’t wait to try this one too! Thanks 🙂
Gorgeous! Superb food styling, excellent recipe. Who could resist this? I sure couldn’t! Really good stuff — thanks.
This tart looks utterly delicious and decadent! No wonder – the chocolate crust, rich filling, and more chocolate for garnish? Oh yeah! Actually, I’ve never tried a tart filling with marshmallows, and it sounds great!
Spectacular presentation! I know we’d all love this too:@)
What a sensational pie! Those chocolate curls are absolutely perfect.