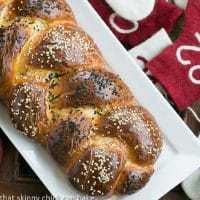
Homemade Pita Bread
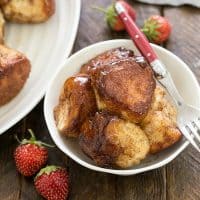
This picture-perfect, soft and pillowy Homemade Pita Bread can be made at home with many ingredients you may already have on hand. This yeast bread recipe turns out tender and delicious!
This Flatbread Recipe is SO much better than anything you can find in the grocery store. Give it a try!!!

Why You Must Make
- Pita bread has been on my bucket list for years. What I can find locally tastes nothing like the soft pillowy bread I ate as a child. I’m constantly disappointed with the quality of pita in our markets.
- I was delighted with this puffed-up pocket bread I baked on my pizza stone.
- After tasting freshly baked pita bread, you’ll never want the grocery store version again!
Ingredient Notes:
- Kitchen Staples – Sugar, Warm Water, Table Salt
- Yeast – I prefer Red Star Platinum yeast, a premium Instant Yeast. No matter what yeast you use, make sure it hasn’t expired.
- Bread Flour – King Arthur brand is my favorite. Bread flour has more gluten so provides the structure needed for yeast bread.
- Olive Oil – California Olive Ranch is my go-to brand. It has the date it was pressed along with an expiration date.

Expert Tips
There’s a bit of a learning curve when making a homemade pita bread recipe. Rolling out my balls of dough did not produce perfect rounds. Some were nearly ideal spheres, but others had an amoeba-like quality! Nevertheless, they were delicious!!
- Before starting, make sure your yeast has not expired.
- PRO-Tip: Did you know you can store yeast in the freezer to extend its lifespan?
- Unopened yeast can be kept in the freezer for up to two years. After it’s open, it’s best to use it within 6 months.
- PRO-Tip: The water to proof your yeast should be about 105-110°. 140° is the temperature that will immediately kill your yeast, so use a thermometer to make sure your water isn’t too hot.
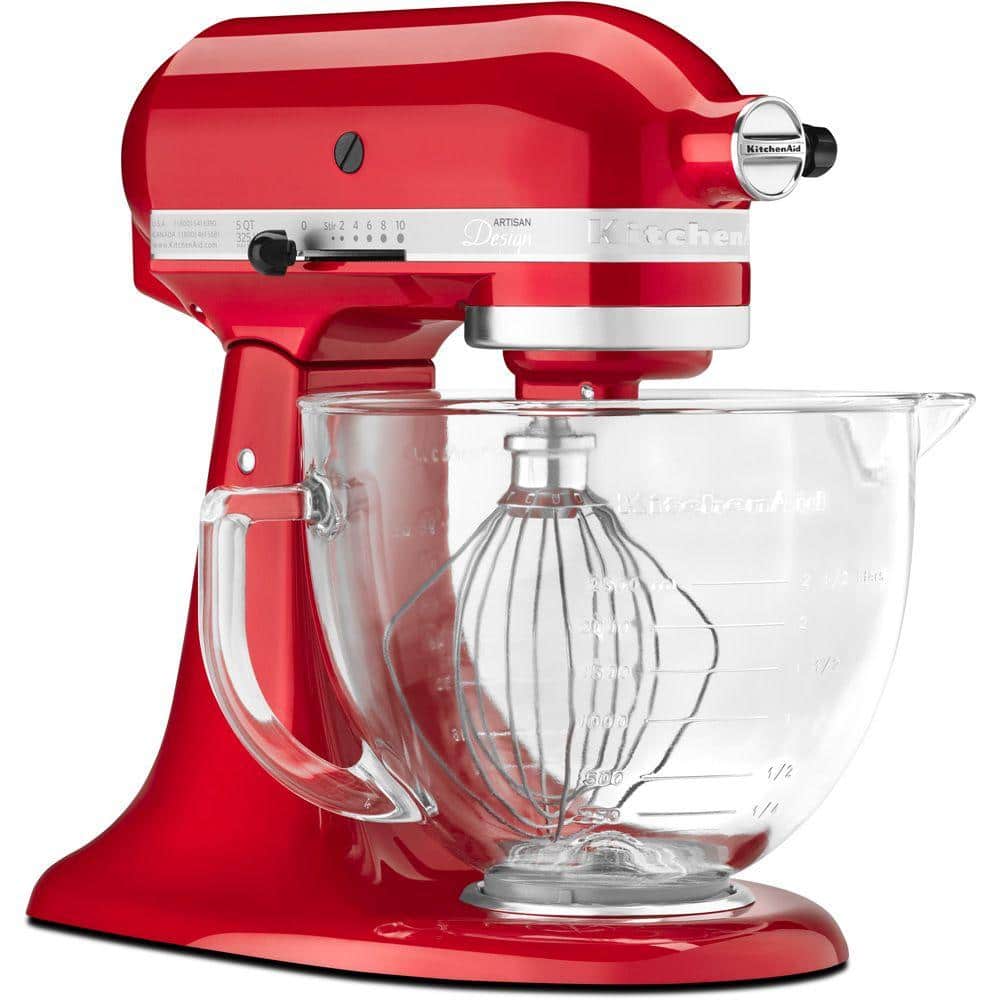
- If you have a stand mixer with a dough hook, this is a super easy way to knead your bread.
- PRO-Tip: During the kneading process, check the temperature of your mixer by placing your hand on top of the motor. If it’s hot, give it a rest before proceeding.
- When proofing the dough, the ideal temperature is about 85°. Forcing it to rise at a warmer temperature may negatively affect the texture of your bread.
- PRO-Tip: Resting the dough for about 15 minutes before rolling helps the gluten relax and makes the rolling process easier.
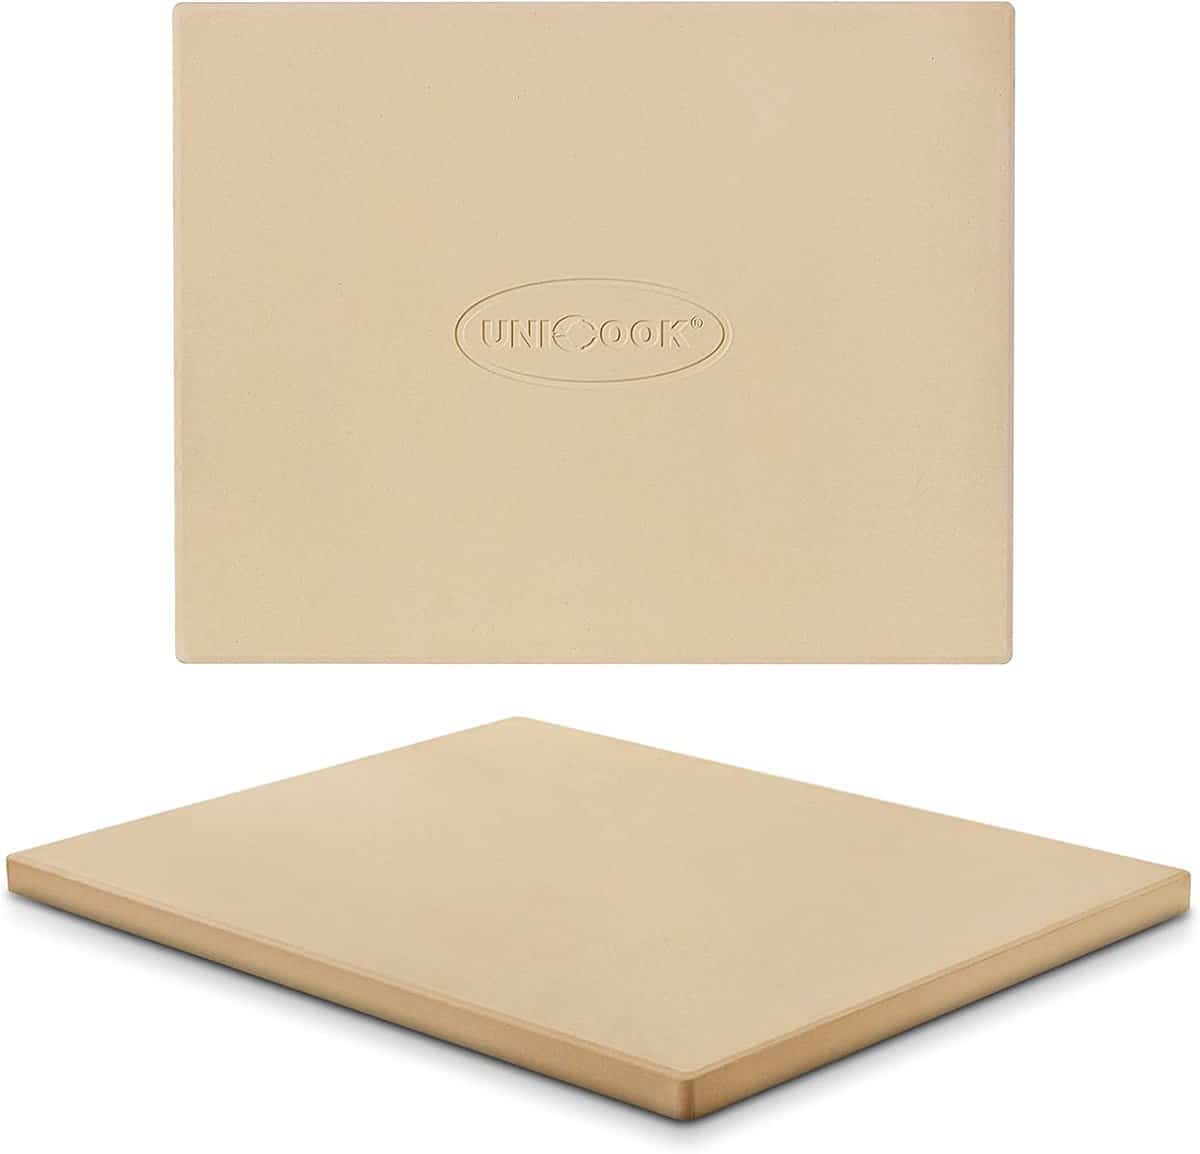
- Using a hot pizza stone in the oven is key. It replicates the classic method of making pita bread. The goal of soft, tasty pocket bread was achieved!

Frequently Asked Questions
Pita is a flatbread that came from the Middle East. It can be made with either white or whole wheat flour.
Yes, pita bread has a pocket in the middle and is also known as pocket bread.
Pita bread can be sliced into 2 semi-circles and filled with a variety of ingredients to make sandwiches like gyros. Each half can also be cut into wedges and used for dipping into hummus, baba ghanoush, seasoned olive oils, and more.
You May Also Like:
- No Yeast Flatbread from Life Currents Blog
- Lefse Recipe
- Shokupan Bread
- Homemade Potato Bread
- More Yeast Bread Recipes
Homemade Pita Bread
A homemade version of the amazing pita bread you can get at Middle Eastern restaurants! Recipe adapted from Tyler Florence.
Ingredients
- 1 package instant yeast, I used Red Star Platinum yeast
- 1 teaspoon sugar
- 1 ½ cups warm water
- 1 teaspoon salt
- 3 ½ cups bread flour
- 1 teaspoon olive oil
Instructions
- In your heavy-duty stand mixer fitted with the dough hook, combine the yeast, sugar, and warm water, and blend. Let the yeast stand until foamy, about 5 to 10 minutes.
- Stir in the salt. Add the flour, a little at a time, mixing at the lowest speed until all the flour has been incorporated. Mix for about 4 minutes until the dough forms a ball.
- Turn the dough onto a lightly floured surface and knead until it's smooth and elastic. Oil a mixing bowl and place the dough into the bowl. Turn it over so an oiled surface is on the top, cover with plastic and move to a warm, non-drafty spot in your kitchen. Let rise until double in size, about 1½ hours.
- When the dough is almost done proofing, place a large pizza stone on a lower oven rack and preheat the oven to 500º.
- Punch the dough down, divide it into 8 pieces, and gather each piece into a ball. Dust dough balls with flour and keep them covered with a towel or plastic wrap. Allow the balls of dough to rest, for 15 minutes.
- Using a rolling pin, roll each dough ball into a 6-8-inch round, about ¼-inch thick. So that it puffs up properly, make sure the round is smooth and without any folds. Cover the rounds after they're rolled.
- Place two of the rounds on the pizza stone and cook for 3 to 4 minutes, or until the bread puffs up like a balloon and is pale golden. Watch carefully so they don't burn. Cool on a wire rack before serving.
Notes
Recommended Products
As an Amazon Associate and member of other affiliate programs, I earn from qualifying purchases.
Nutrition Information:
Yield:
8Serving Size:
1 pitaAmount Per Serving: Calories: 227Total Fat: 2gSaturated Fat: 0gTrans Fat: 0gUnsaturated Fat: 1gCholesterol: 0mgSodium: 268mgCarbohydrates: 44gFiber: 2gSugar: 1gProtein: 8g


25 Comments on “Homemade Pita Bread”
I love how easy to make and how delicious this recipe is.
My husband really loves it!
Love this pita recipe! Mine didn’t turn out quite as picture perfect as yours, but super delish! That gives me a good reason to practice more often!
This is so amazing!! I love how easy it is to make! Thank you!
Oh to be able to make my own pita bread! Yours look awesome!!! Can’t wait to make them. Thanks Liz!
I love homemade pita bread and definitely agree with you that the store-bought version can’t compare. It’s been too long since I’ve made it – you’ve inspired me to get back to this mainstay of Middle Eastern food.
Perfection is overrated. A bit of an amoeba-like quality is highly desirable in pita! =) Yours turned out beautifully–so fun to watch them puff up in the oven!
I love the idea of your progressive dinners! I already talk to my beach’s neighbours of this and I hope once we could make it! It sounds so nice! your pitas sounds great and perfect for progressive dinner. I will make it for my childrens. They love pita bread! x
We eat a lot of pita bread but I never thought to try making it. Well done, yours look good enough to eat.
Amalia
xo
What a Great bake on these pita breads. Nice pockets. I wish I could lift one from screen
I’ve been wanting to make this for a long time. You have given me the motivation I need
Nice work Liz, looks puffy and I am sure tastes pretty good.
These are the pretties homemade pitas ever! You nailed it 🙂 Have a great week!
Absolutely perfect POCKETS on your pita! Awesome recipe (and collection of recipes!).
Good idea to let the dough rest for 15 minutes before rolling. Gluten can be difficult, can’t it? Anyway, these look wonderful! Good recipe — thanks.
This pita is so pretty and delicious. The texture looks amazing. Thanks for this lovely recipe, I must try it soon.
These look like you’ve been making pita bread all your life – beautiful!
This pita is GORGEOUS. It seriously looks so amazing. Pinning!
The absolute perfect pita breads Liz – even if some are amoeba shaped, LOL. This has been on my bucket list too and I am inspired by you. Gorgeous photos as always and an inspired addition to our #ProgressiveEats Middle Eastern/Moroccan feast!
Oh Liz, your pita bread looks perfect…I love the texture of it…you sure mastered it.
Thanks for the recipe, I must try it soon. Have a wonderful week ahead 🙂
These pita pockets turned out perfect, Liz.
Wow – I’m impressed that you made pita bread. I would love to try this!
Those are 100 times better than anything you can buy nice job!!!
They look perfect to me Liz! Enjoy:@)
Pita bread is a favorite of mine!!!
Thanks for sharing.
Love
Homemade pita bread has been on my list forever too! I can’t wait to try your recipe – these look just perfect, and using your pizza stone is a great tip!