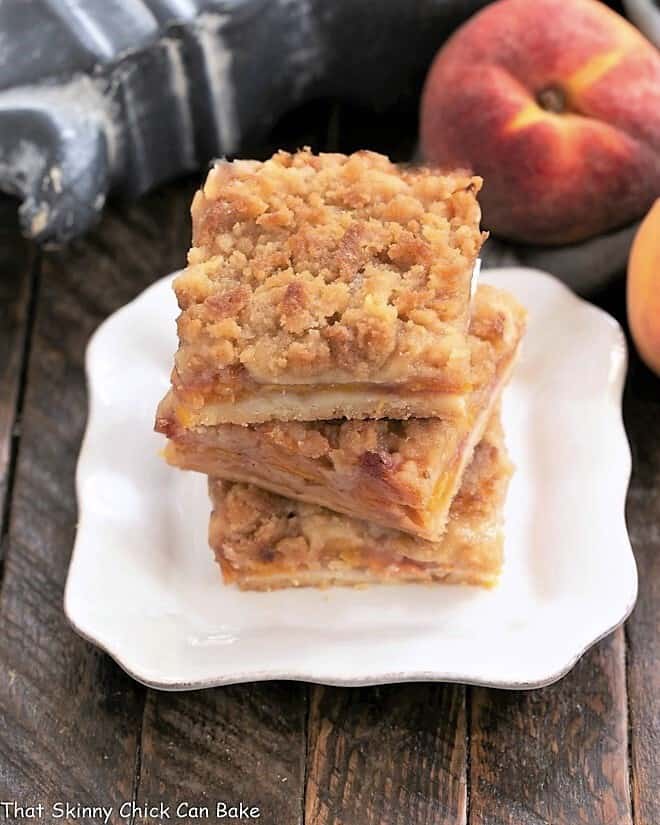
Fresh Peach Pie Bars
Fresh Peach Pie Bars are a heavenly treat made with fresh summer peaches. Try this tasty trio of a shortbread crust, peaches, and a crumble topping!
When local or southern peaches, kissed with a gorgeous blush of color, are available, there’s nothing better than a homemade peach dessert!

Fresh Peach Pie Bars
I wait all summer till the local peaches are ripened to perfection, then put on my apron and bake up a storm. First on the agenda was a batch of crumb-topped peach bars. With a shortbread crust and a buttery streusel sandwiching the luscious peach slices, I knew the results would be nothing short of spectacular. The family made these peach streusel bars disappear in a flash.

Peach Crumble Bars
Making pies can be a daunting task. Between rolling out the crust without tearing the pastry, laying the top crust without a fiasco, and making sure the filling is thick enough, but not too thick, are frequent worries! Every step has a potential fail. That’s why I love fruit-filled bar cookies like these fresh peach pie bars.
Starting with a simple press-in shortbread crust, followed by a layer of peach preserves and sliced peaches, then topped with a buttery streusel is the recipe for a much less stressful task. Plus the reward is a bar cookie that tastes like a classic peach pie! Bill, the consummate pie authority, raved about these peach crumble bars. And I was happy not to sweat out the nerve-racking process of rolling out a crust!
A Few Tips for Making the Best Peach Bars
It’s easy to make the shortbread crust with a food processor if you have room in your dishwasher to clean it! I’ve used a pastry blender, too. This crust is pressed onto the bottom of a prepared baking pan. Use the flat bottom of a measuring cup to help even out the surface.
Use ripe, flavorful peaches for the best results. The peach preserves (affiliate link) provide some peach flavor, but using tasty, seasonal peaches is key for terrific peach bars.
If slicing cookie and dessert bars is a challenge, check out this post on How to Cut Perfect Bar Cookies.
A reader recently asked me if these could be made ahead. My family is happy to eat these peach crumble bars for days after they’re baked, but the topping does absorb moisture from the peaches, especially if they’re extra juicy. So if you’re planning to serve this peach dessert for special company, serve them on the day they’re baked.

How to Select Fresh Peaches
- Look at the stem end for a nice blush and no green tinge. If you see green, the peaches were picked too early and will not ripen properly.
- Take a deep inhale. Fresh peaches should have a sweet, peach aroma when ripe.
- Gently squeeze the fruit. It should give slightly when ripe. Firm peaches may need a few more days before they’re ready to eat.
How to Store Fresh Peaches
- Keep your fresh peaches at room temperature until they’re ripe. To hasten the ripening, place your peaches in a brown paper bag. The bag traps ethylene gas which helps fruit to accelerate the ripening process.
- Once the peaches are ripe, you can store them in the refrigerator for 3-5 days. When the skin starts to shrivel, your fruit is dehydrating and should be eaten, baked with, made into jam or jelly, or frozen ASAP. Try a homemade peach dessert like a peach galette, peach crisp, or peach bread.
More Fruit Bars:
- Raspberry Crumble Bars from Oh, Sweet Basil
- Apricot Bars
- Apple Toffee Bars
- Apple Streusel Bars
- The Best Lemon Bars
- Cranberry Cream Cheese Bars
- Key Lime Pie Bars
- More Bar Cookie Recipes
This post from August 2016, was updated with additional tips and new photos in 2019.
Fresh Peach Pie Bars
All the flavors of a peach pie in these easy to make, streusel topped bar cookies!
Ingredients
Crust:
- ¾ cup flour
- ¼ cup powdered sugar
- Dash of salt
- 6 tablespoons butter, cold and cut into pieces
Peach Filling::
- ¼ cup peach preserves (I used Bonne Maman)
- 2 cups fresh peach slices (2-3 peaches), peel, remove the pit, and slice
- 1 teaspoon fresh lemon juice
- 2 tablespoons flour
- 1 teaspoon cornstarch
- ¼ teaspoon cinnamon
Topping:
- 4 tablespoons butter, cold and cut into pieces
- ½ cup flour
- ½ cup packed brown sugar
- 1 tablespoon sugar, to sprinkle over peaches
Instructions
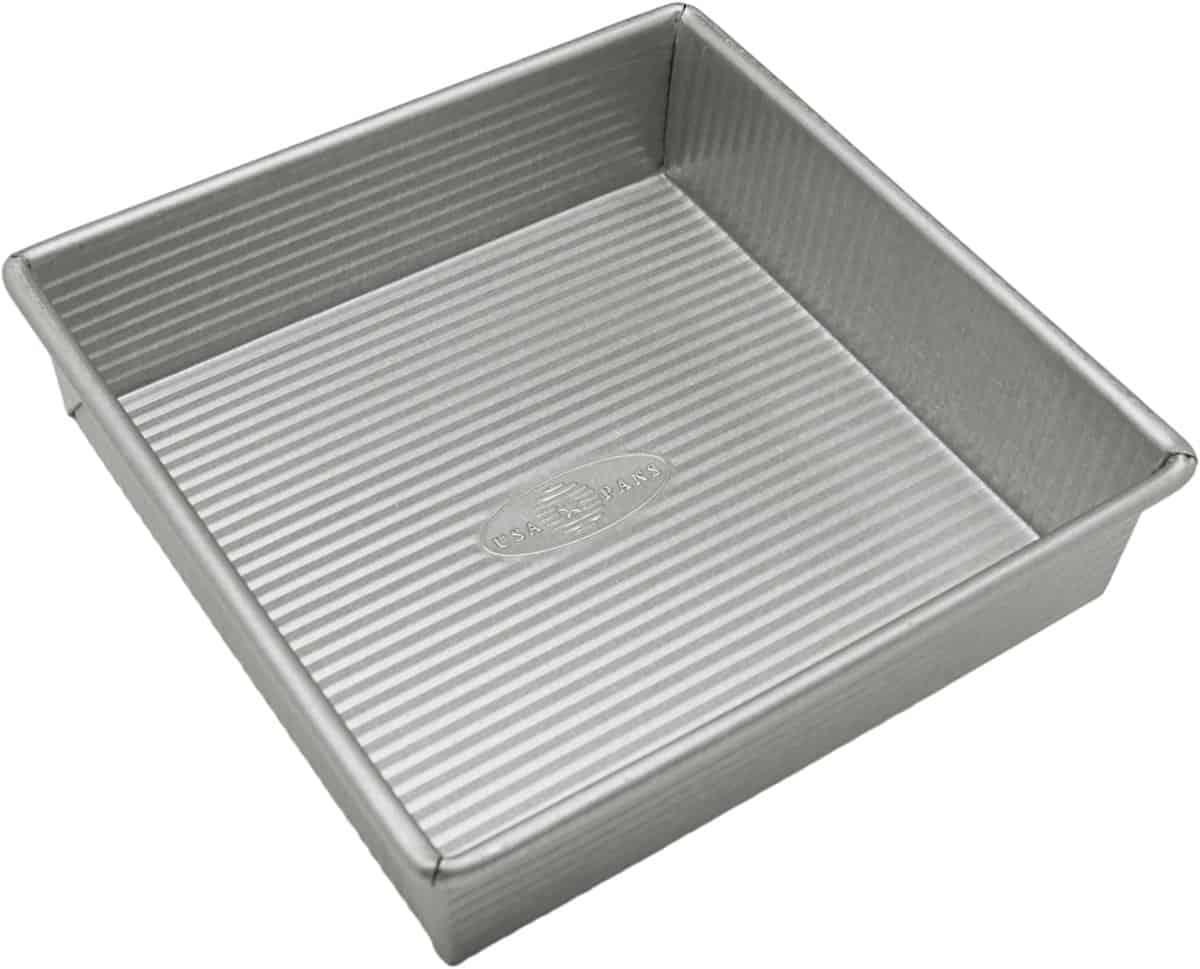
- Preheat oven to 375º. Line an 8 x 8-inch baking pan with non-stick foil.
- Make the crust by combining ¾ cup flour, powdered sugar, salt, and 6 tablespoons of butter. Cut butter into dry ingredients till the butter is the size of small peas (may use a pastry blender or even a food processor).
- Sprinkle the mixture into the bottom of your prepared pan. Press into an even layer using your hands.
- Bake for 10-12 minutes or till just starting to brown.
- When the crust is baked, spread preserves over the top. Set aside.
- Gently mix the peach slices with lemon juice. Toss the peaches with the flour, cornstarch, and cinnamon. Set aside.
- Make the streusel topping by mixing the remainder of the butter, flour, and brown sugar using a pastry blender or food processor just till combined and crumbly.
- Arrange the peach slices, overlapping slightly if needed, in a single layer across the jam. Sprinkle with the 1 tablespoon of sugar. Sprinkle evenly with the streusel topping.
- Bake for 25-30 minutes or until the filling is bubbling and the topping is golden brown. Cool completely before cutting.
- This recipe can easily be doubled and baked in a 9 x 13-inch pan. Baking times remain the same.
Notes
Taste your peaches before adding them to the bars. You may need more or less sugar to sweeten.
Recommended Products
As an Amazon Associate and member of other affiliate programs, I earn from qualifying purchases.
Nutrition Information:
Yield:
16Serving Size:
1Amount Per Serving: Calories: 161Total Fat: 7gSaturated Fat: 5gTrans Fat: 0gUnsaturated Fat: 2gCholesterol: 19mgSodium: 70mgCarbohydrates: 23gFiber: 1gSugar: 13gProtein: 2g


41 Comments on “Fresh Peach Pie Bars”
None of these people that commented have actually made these delicious looking bars! Just wondering if you could use frozen peaches, due to the lack of farmer’s markets this year. I realize the water in frozen fruit might be a problem, just wondering. Also, it appears you don’t need to peel the peaches, just making sure.
Hi, Pamela,
I think the frozen peaches will be too wet and could make both the crust and topping too soft. You could certainly leave the peach peels on, but I prefer using peeled peaches. Hope you enjoy!
There are a few farm stands around here that still carry peaches and I hope to find one. The peaches in the grocery store this season were hit and miss.
Hubs loves peach cobbler, and this was such a fun twist!
This is like my perfect dessert. I love love love peaches. That crust sounds so good. And that topping is giving me life!
I can only imagine how great your house smelt while these were baking! Sweet peach desserts are always amazing.
These bars look so good, Liz! Peaches are the king of the summer fruit right now, so this dessert is just in time. Love that you used both fresh and preserved peaches (So much more flavour and texture), and this buttery topping is an excellent addition. Delicious!
There are so many great recipes around at the moment for peaches and these bars look SO good! I need to get some peaches and try them.
Dear Liz, shortbread base, juicy, peachy filling and a crumbly streusel topping – your peach pie bars are calling my name and I love their elegant look too!
A perfect teatime treat for late summer when peaches are at their very best!
I love fresh peach season. When I was a kid, my aunt had an orchard…and we picked peaches every summer. This dessert looks delicious.
I can’t get enough peaches right now. They’re absolutely heavenly from our local farmers market. These bars sound delicious!!!
Can this recipe be made the day before and should it be stored in the fridge?
Hi, Diana,
Unless it’s for a very special occasion, these peach bars can be made the day before you serve them. Definitely store in the refrigerator, especially when making in the summer. Hope you enjoy!
I’m about to try this recipe – just wondering, why the small amount of cornstarch with the flour?
Just additional thickener, plus it gives a little gloss to the filling. Hope you enjoy, Donna!
This is so much better than having to make a crust , thank you. My only challenge with these would be making a small batch because they would pretty much be for me. The Mr would have one, the rest of the picky family doesn’t like peaches. What’s wrong with them!!! Oh well, I’ll just have to workout a little longer each day!
I read the words “peach pie” and I was in – this looks sensational.
This recipe sounds great! Thanks for sharing.
I love peaches! And these bars are picture perfect!
I always look forward to the fresh peaches in the summertime. The peach pie bars are a great way to feature the delicious peaches of summer.
I love peaches so much I even started using them in place of the blueberries I add to my oatmeal each morning. These look delightful and easy to make. I’ll be sure to test them out.
Fresh peaches are one of my favorite things ever and I adore shortbread so yeah, this is my kind of dessert! And, of course, it has Bill’s seal of approval. That’s good enough for me.
We’re enjoying wonderful local peaches at the moment. Peak season, so we’re gobbling them as fast as we can. Love the pie of these bars — all the flavor of pie in a nice convenient smaller package. Well, that is if you only eat 1 piece. Which would be impossible for me — these look SO good. Thanks!
This is a sign! I’ve been craving pie bars the last few weeks and I haven’t made any in. And these peach pie bars sounds wonderful. Now I need to make them. Drooling!
This sounds AMAZING!!! Just pinned!
I just posted a peach bar, the peaches right now are delicious. Love a shortbread crust.
These look AMAZING Liz! Going on my must bake list!
I’m in~! As soon as I can find some good peaches it’s done. Those look amazing.
What perfect bars, Liz! That peach filling looks divine!
Love recipes like this where you don’t have to fuss with pastry! Your Peach Pie Bars look amazing, Liz. Pinned!
These sound beyond yummy!
Oh Liz, these bars look so good…I have never made bars with peaches…I love the idea of mixing fresh and preserved peaches…
Have a wonderful week 🙂
I am peach crazy right now with the tasty Ontario peaches. I have to keep some aside to try these pie bars, so wonderful looking.
Love everything about these bars Liz. I too wait all summer long buying 1 at a time waiting for peaches to reach there potential. They are my favorite of all fruits!!
These look delicious – thanks so much for sharing!
3 simple yet divine layers, Liz.
This is a really nice way to use peaches when they are at their best, it sounds delicious.
Dear Lizzy, This time of year I always have a little basket of fresh peaches on hand. They are so wonderful. I love the sound of these bars…such a delicious treat. xo, Catherine
I’ve been obsessed with peaches and fruit bars this summer! This version looks perfect and so delicious 🙂
This would be a winner here too! Enjoy the peaches:@)
I love Bonne Maman jams also…Thinking your scrumptious recipe would fare well with cherries, too =)