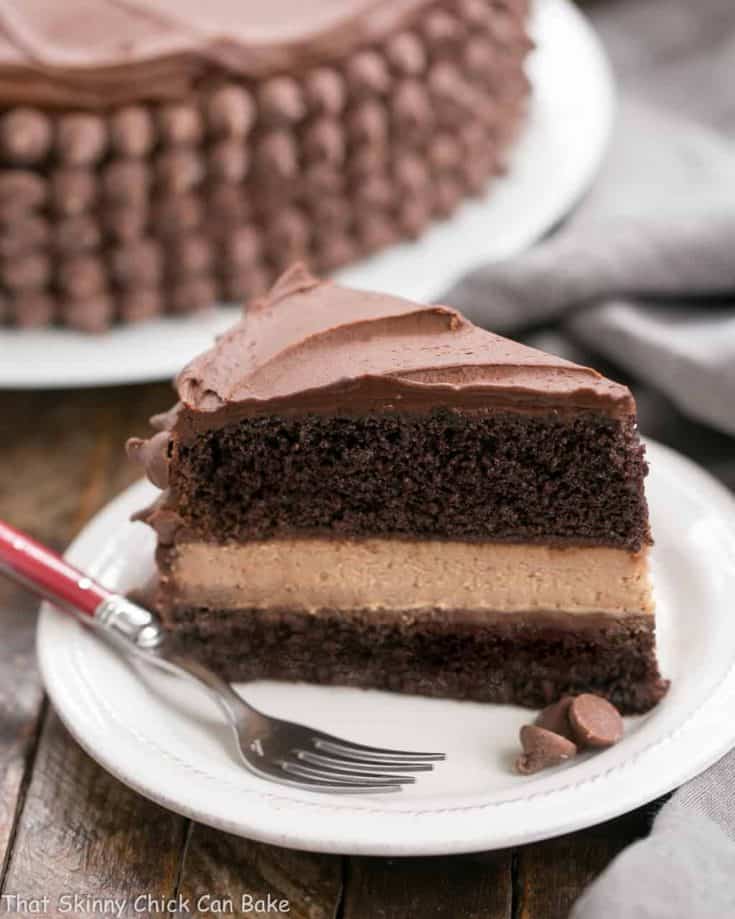
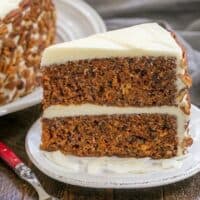
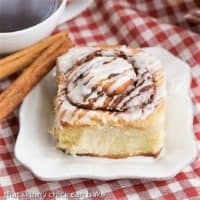
Candy Bar Cheesecake
Candy Bar Cheesecake is the ultimate dessert mashup! When you can’t decide between a slice of rich chocolate cake or milk chocolate cheesecake, make this chocolate cheesecake-filled layer cake recipe!
This Hershey Bar Cheesecake is a Cheesecake Factory Copycat Recipe. The cheesecake filling is flavored with milk chocolate for the classic Hershey bar flavor!

Why You Must Make
- I first made this rich, unforgettable candy bar cheesecake recipe years ago. Served at The Cheesecake Factory, it was dubbed “candy bar” due to the use of Hershey’s milk chocolate in the cheesecake filling. This Cheesecake Factory Red Velvet Cheesecake looks extraordinary, too. I think they’re onto something!
- The thought of filling a classic iced chocolate cake with a chocolate cheesecake literally made my mouth water.
- A gargantuan dessert like this would take my family 2 weeks to finish, but I got a chance to remake it last weekend. Invited to a dinner party with some of my dearest friends, I volunteered to bring a dessert. Natch. It’s perfect for any gathering as small slices will satisfy your sweet tooth.
Ingredient Notes
- Kitchen Staples – Sugar, Flour, Room Temperature Eggs, Baking Soda, Salt, Vegetable Oil, Butter, Milk
- Cream Cheese – At room temperature.
- Sour Cream – At room temperature.
- Vanilla Extract – Real vanilla extract, never artificially flavored (read the label carefully). I use the Nielsen-Massey brand.
- Milk Chocolate – Chopped, then gently melted. I use Ghirardelli bars.
- Cocoa Powder – Regular, not Dutch Processed.
- Baking Powder – Unlike baking soda, baking powder typically will expire before you use it all. Check the expiration date and if you want to check its potency, put a spoonful in a bowl of hot water. It should bubble vigorously if fresh.
- Powdered Sugar – Sift for the smoothest frosting.
- Milk Chocolate Chips – Optional, to garnish the cake.

Marriage of Two Chocolate Desserts
These friends are used to the shenanigans that come with a “blogger’s” dessert. Like slices cut out and reinserted. Thankfully, they’re always willing to be my guinea pigs. Plus, I get some honest reviews.
Our host squirreled away an extra slice that his wife found in the fridge the next day! One fellow swore he couldn’t eat another bite, but after about an hour of us gabbing around a roaring fire, I noticed his plate was empty. Another gal, who usually doesn’t indulge, ate a full slice. She thought the filling was a luscious ganache, but her cheesecake-loving husband set her straight.
I had just enough leftovers to bring a couple of slices home, and Bill has savored every bite of the remaining cake. So if you need a showstopper for any party, make this exquisite Hershey’s Candy Bar Cheesecake at home!
Recipe Tips
- PRO-Tip – Before making the cheesecake, get the eggs, sour cream, and cream cheese out of the refrigerator and let them come to room temperature. This will make the cheesecake creamier and allow the eggs to be incorporated more easily.
- PRO-Tip – When time is tight and you are planning to have company for dinner, a few make-ahead recipes are incredibly helpful. Luckily, all three layers of this candy bar cheesecake can be made ahead of time and stored in the refrigerator for a day or two or in the freezer for a couple of weeks. Just defrost before assembling.
- Served at room temperature, this cake is moist and tender, the icing creamy and fudgy, and the chocolate cheesecake filling is amazing. I don’t think I’ve ever had such rave reviews from one of my desserts. A hit across the board.
- To freeze, the cake layers should be removed from the pans, cooled, and then each wrapped in plastic, then foil. For the cheesecake, let it cool to room temperature, then wrap the whole pan in foil and freeze.
- The layers should be defrosted in the refrigerator overnight before assembling. Just make the icing, frost and garnish the cake, and it’s ready to go!

Frequently Asked Questions
There are a few keys to making a good cheesecake. First, all the ingredients should be at room temperature. It should be baked in a springform pan so it can easily be removed to serve. It shouldn’t be over-baked but instead pulled out of the oven when the very center (about the size of a quarter) still jiggles slightly when you tap the pan.
Often a cheesecake is baked in a water bath so that it cooks in a steamy environment that assists with a slow and even rise. This minimizes the chance of cracks developing. It’s not necessary with this recipe since the cheesecake will be inserted between two layers of cake.
I like to use both a small and large offset spatula for smoothing on the frosting. With this cake, the chocolate chip garnish covers up any imperfections in the frosting, so only the top frosting is exposed.
You May Also Like:
- Cheesecake Factory Red Velvet Cheesecake from Copycat Recipes
- Homemade Caramel Cheesecake
- Chocolate Caramel Twix Cheesecake
- Homemade Caramel Cheesecake
- More of the Best Cheesecake Recipes
Candy Bar Cheesecake
Candy Bar Cheesecake is the ultimate dessert mashup! For a marriage of two chocolate desserts, make this chocolate cheesecake filled layer cake recipe!Adapted from Recipe Secrets
Ingredients
Cheesecake Layer:
- 2 (8-ounce) packages cream cheese, at room temperature
- ½ cup sugar
- 3 eggs, at room temperature
- ¼ cup sour cream, at room temperature
- 1 teaspoon vanilla extract
- 4 ounces chopped milk chocolate, melted
Chocolate Cake:
- 2 cups sugar
- 1 ¾ cups all-purpose flour
- ¾ cup cocoa powder
- 1 ½ teaspoons baking powder
- 1 ½ teaspoons baking soda
- 1 teaspoon salt
- 2 eggs
- 1 cup milk
- ½ cup vegetable oil
- 2 teaspoons vanilla extract
- 1 cup boiling water
Chocolate Frosting:
- ½ cup (1 stick) butter
- ⅔ cup cocoa
- 3 cups powdered sugar
- ⅓ cup milk
- 1 teaspoon vanilla extract
- 2 cups Milk Chocolate Chips
Instructions
To prepare the cheesecake:
- Preheat oven to 325º.
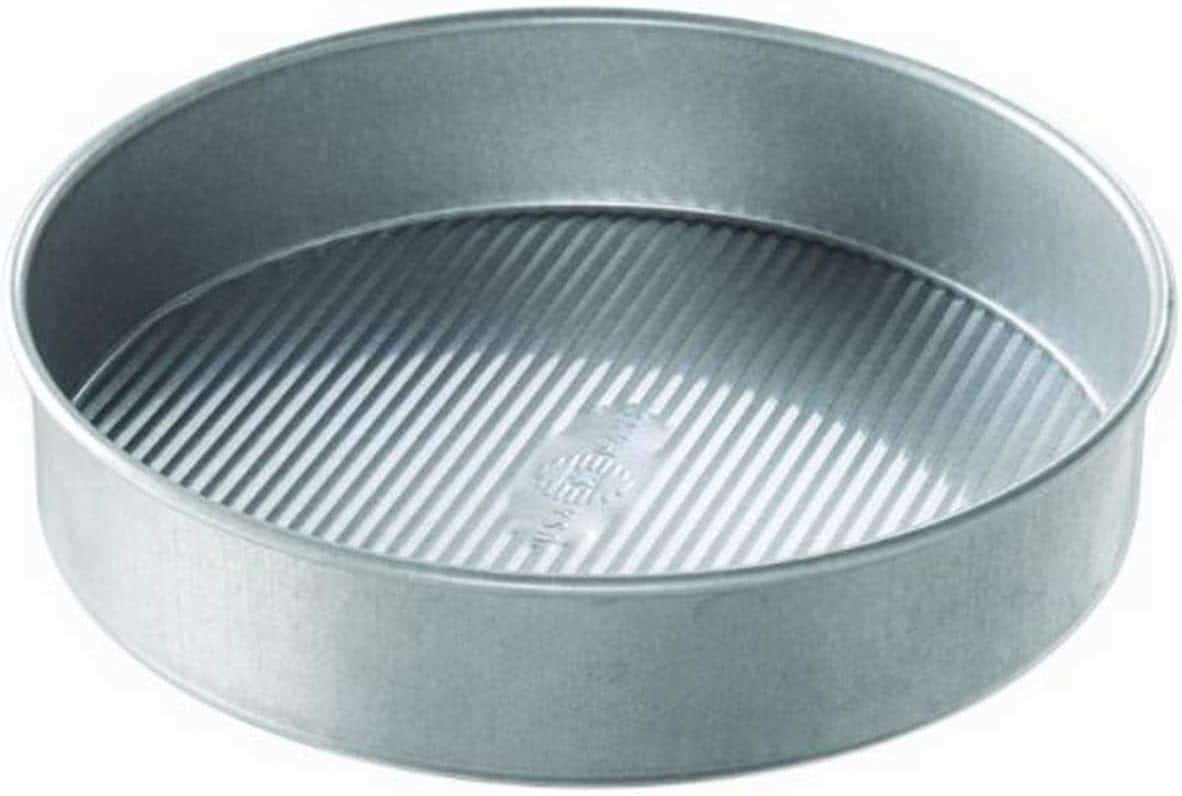
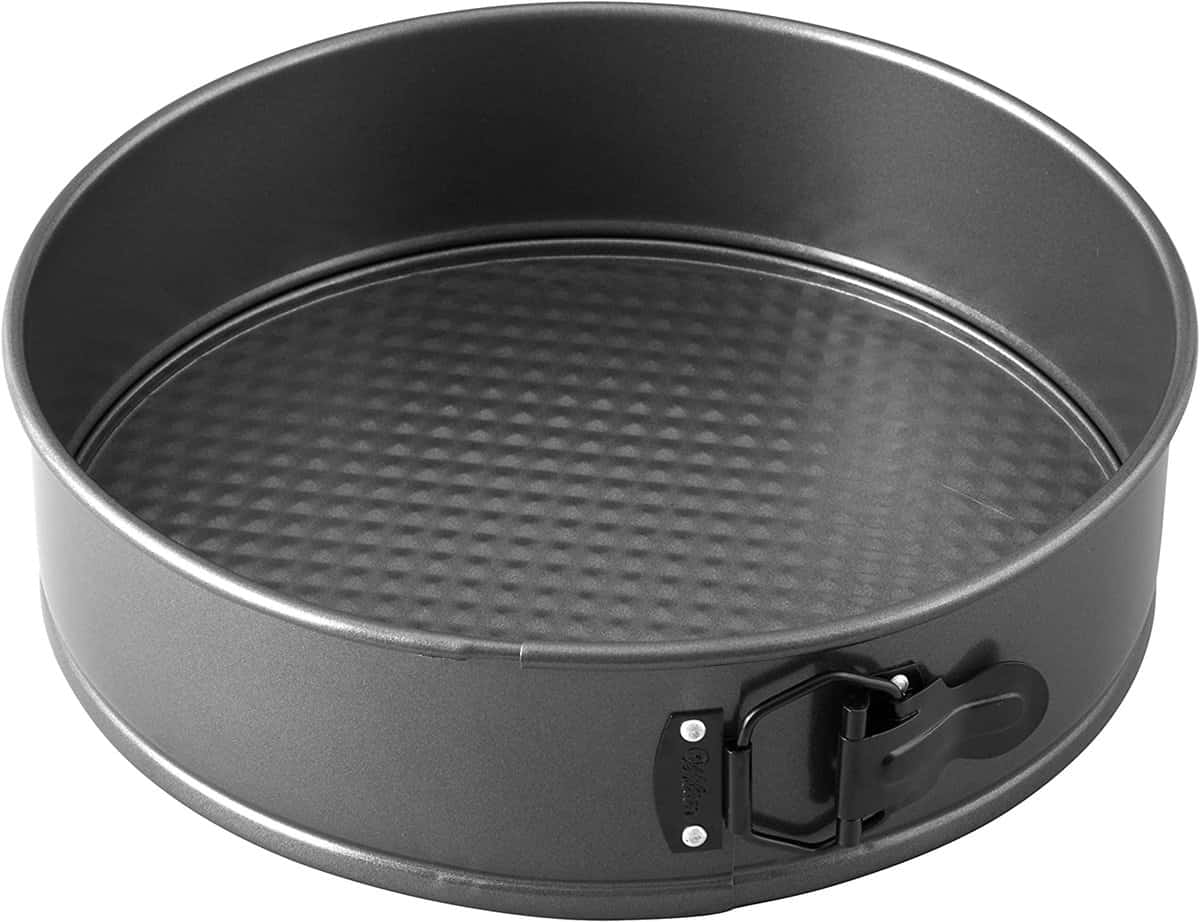
- Line a 10-inch round baking pan or 10-inch springform pan with non-stick aluminum foil or plain foil. Let the edges of the foil extend over the sides of the pan and then spray the foil with non-stick cooking spray if not using non-stick.
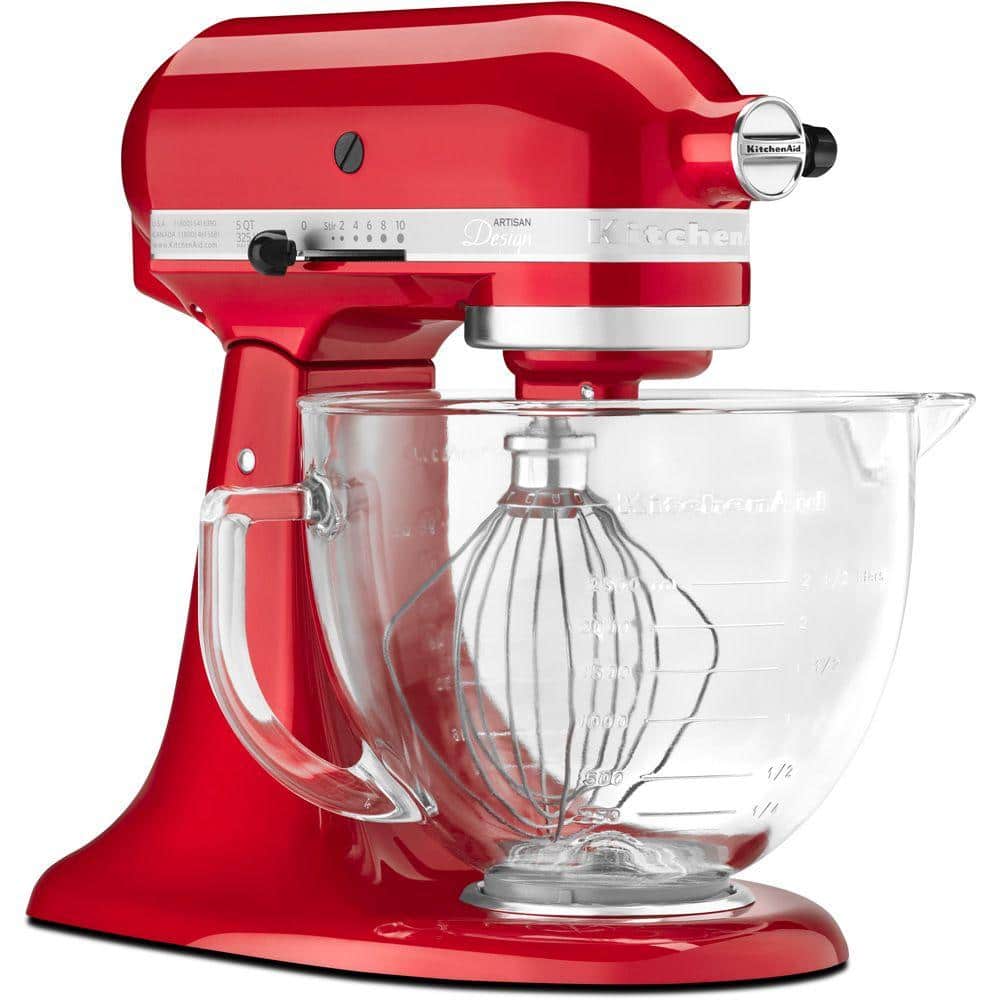
- In your stand mixer fit with the paddle attachment, beat cream cheese, sugar, and vanilla extract at medium speed with an electric mixer until creamy and smooth.
- Mix in eggs, one at a time. Blend just until eggs are incorporated.
- Stir in sour cream and melted chocolate.
- Pour batter into the prepared pan. Bake for 45 minutes, or until the top just starts to turn golden.
- Let the cheesecake cool completely in its pan on a wire rack then cover and chill for 4 hours.
- To prepare the chocolate cake:
- Heat oven to 350°.
- Grease and flour two 10-inch round baking pans. Line bottoms with parchment rounds and grease.
- Stir together sugar, flour, cocoa, baking powder, baking soda, and salt in a large bowl. Add eggs, milk, oil, and vanilla; beat on medium speed of mixer for 2 minutes. Stir in boiling water (the batter will be thin). Pour batter into prepared pans.
- Bake for 30 to 35 minutes or until a wooden pick inserted in the center comes out clean. Cool for 10 minutes; remove from pans to wire racks. Cool completely.
To prepare the chocolate frosting:
- Melt butter. Stir in cocoa. Alternately add powdered sugar and milk, beating to spreading consistency. Add a small amount of additional milk, if needed. Stir in vanilla.
- To assemble: Spread a layer of frosting on top of one of the chocolate cakes.
- Using the edges of the foil as handles, remove the cheesecake from the pan and peel away the foil.
- Carefully layer the cheesecake on top of the frosted cake. If the cheesecake becomes hard to work with, you can place it in the freezer for 20-30 minutes.
- Spread some chocolate frosting on top of the cheesecake layer.
- Place the second chocolate cake on top and ice with frosting on top and on all sides. Decorate the sides of the cake with chocolate chips.
Notes
For the creamiest cheesecake, have the eggs and cream cheese at room temperature.
Recommended Products
As an Amazon Associate and member of other affiliate programs, I earn from qualifying purchases.
Nutrition Information:
Yield:
16Serving Size:
1Amount Per Serving: Calories: 831Total Fat: 20gSaturated Fat: 7gTrans Fat: 0gUnsaturated Fat: 10gCholesterol: 70mgSodium: 414mgCarbohydrates: 146gFiber: 5gSugar: 67gProtein: 16g
Thatskinnychickcanbake.com occasionally offers nutritional information for recipes contained on this site. This information is provided as a courtesy and is an estimate only. This information comes from online calculators. Although thatskinnychickcanbake.com attempts to provide accurate nutritional information, these figures are only estimates. Varying factors such as product types or brands purchased can change the nutritional information in any given recipe. Also, many recipes on thatskinnychickcanbake.com recommend toppings, which may or may not be listed as optional and nutritional information for these added toppings is not listed. Other factors may change the nutritional information such as when the salt amount is listed “to taste,” it is not calculated into the recipe as the amount will vary. Also, different online calculators can provide different results. To obtain the most accurate representation of the nutritional information in any given recipe, you should calculate the nutritional information with the actual ingredients used in your recipe. You are solely responsible for ensuring that any nutritional information obtained is accurate.


25 Comments on “Candy Bar Cheesecake”
I love the way you decorated the cake- it’s gorgeous and it looks rich and decadent. Yum !!
Such an amazing cheesecake!! So good!
This cheesecake didn’t last long when I made it. Everyone who had a piece loved it.
This is every chocolate lover’s dream! I need this ASAP!
Oh my! This cake looks amazing!
I made this last weekend and it was like a dream come true! Chocolate lovers beware it is addicting!
What an amazing dessert! The cheesecake puts this so far over the top! Awesome!
Love how you decorated the cake.
Wow this cake is stunning! I love the very neat frosting 🙂
What a dreamy cheesecake, love the layers!
There isn’t much better than chocolate and cheesecake all in one cake! Amazing!
That’s it. I’m moving next door to you immediately!!! This looks incredible.
Such a beautiful cake. One that my family would devour I’m certain in just 2-4 days. This is a keeper.
Perfect for chocolate lovers – looks stunning.
Wow – this is one gorgeous cake! I won’t rest until I try this one 🙂 Such a fan of chocolate and cheesecake so it’s perfect. Thanks for sharing!
Beautiful Liz! Every layer sounds delish!
definitely another good decadently good dessert!
How decadent and delicious this looks! I love the combination of desserts. Yum!
this sounds heavenly! wished I can comment on FB but still not happening for 4 more days! thanks for this delicious piece of heaven on a plate! merry christmas to you and your family!
What a decadent, unique treat! I can see why it was such a hit.
looks delicious and decadent!
Genius. Decadent. Festive. Perfect holiday make-ahead dessert, Liz.
Hi Liz!
Hahaha… I love that you talk about slices of cake cut out and then reinserted. I’ve done that soooo many times!!!
Can you please bring this cake to my next party. I’m drooling too!
Merry Christmas!
No doubt it was a huge hit! Beautiful:@)
Lots of chocolate! A spectacular cheesecake, Liz.