Classic Whoopie Pies with Marshmallow Cream Filling
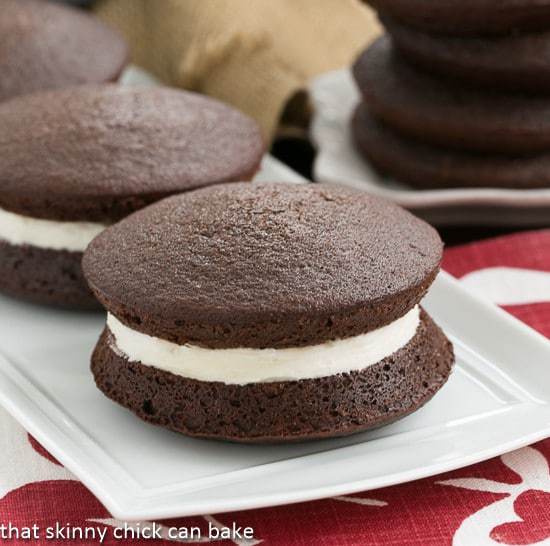
These Classic Whoopie Pies are two moist chocolate cake rounds filled with a magical icing of marshmallow cream, butter, and powdered sugar!
With marshmallow fluff filling sandwiched between two mini cakes, these Chocolate Whoopie Pies stand out from all the other recipes! Transport yourself to the Northeast with these famous Maine Whoopie Pies!

Why You Must Make
- If you like chocolate cake, these mini cakes will rock your world!
- Plus, the filling made with marshmallow cream is exquisite. The mixture of butter, marshmallow cream, and powdered sugar creates an extraordinary confection.
- They are portable treats—perfect for picnics, snacks, and lunch boxes (pack some wipes!).
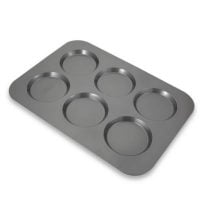
Whoopie pies were not mainstream in my hometown of Ames, Iowa. In fact, I’d never tasted one until I baked a batch for my family a couple of years ago. Seeing Martha Stewart make Cranberry Island Whoopie Pies on her show was enough to motivate me to run to Sur la Table and buy a couple of muffin top pans (there’s an Amazon link in the recipe card below).
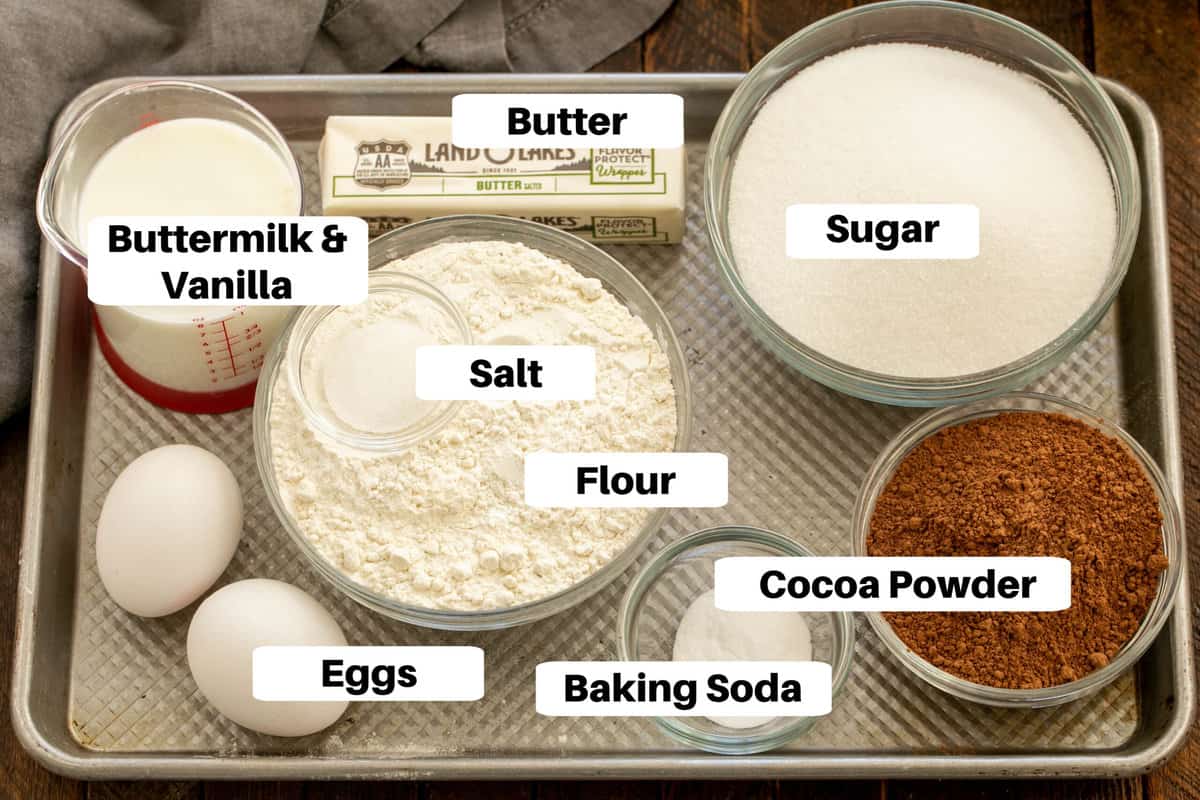
Ingredient Notes
- Kitchen Staples – Sugar, Salt, Baking Soda, Flour
- Butter – At room temperature; extra needed to grease the muffin top pan. I use salted butter.
- Eggs – At room temperature
- Vanilla Extract – Real vanilla, not artificially flavored
- Buttermilk – See how to make a substitution if needed under the expert tips below.
- Cocoa Powder – Sift if lumpy.
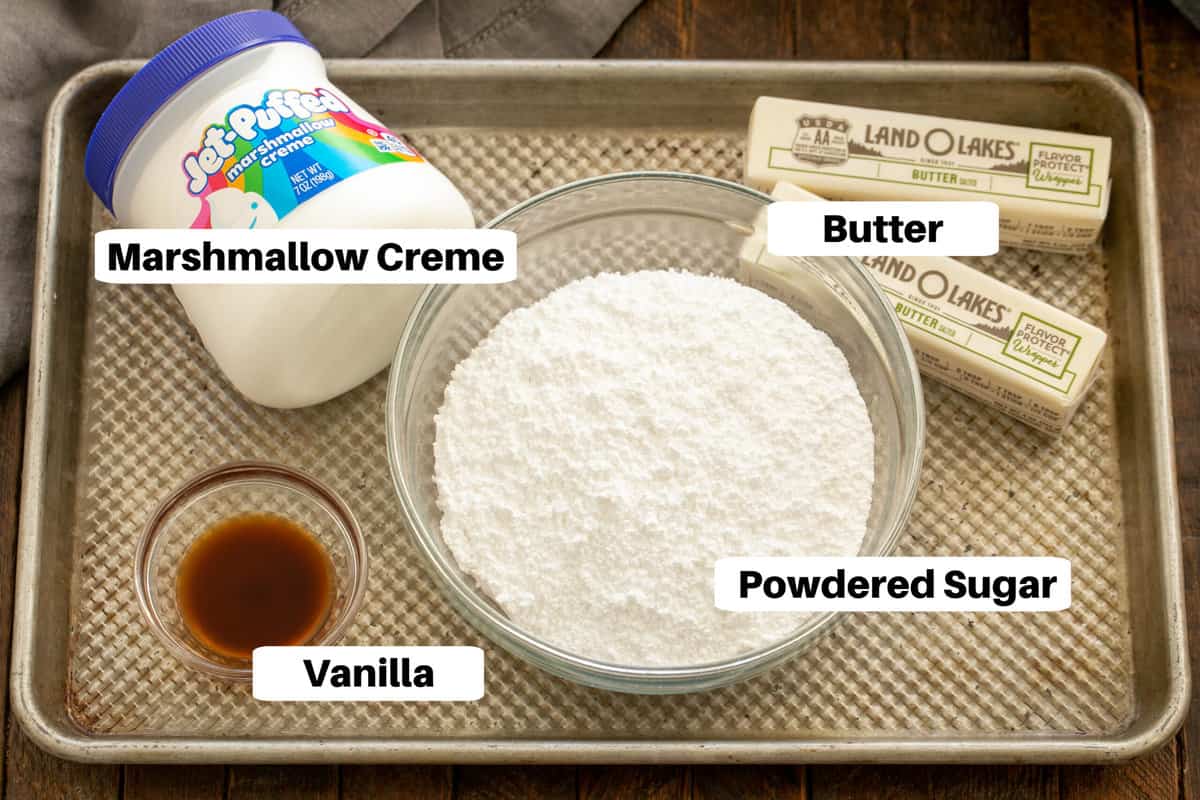
- Powdered Sugar – (Confectioner’s Sugar) – Sift.
- Marshmallow Creme – I use a 7-ounce jar of Jet Puff brand.
How to Make
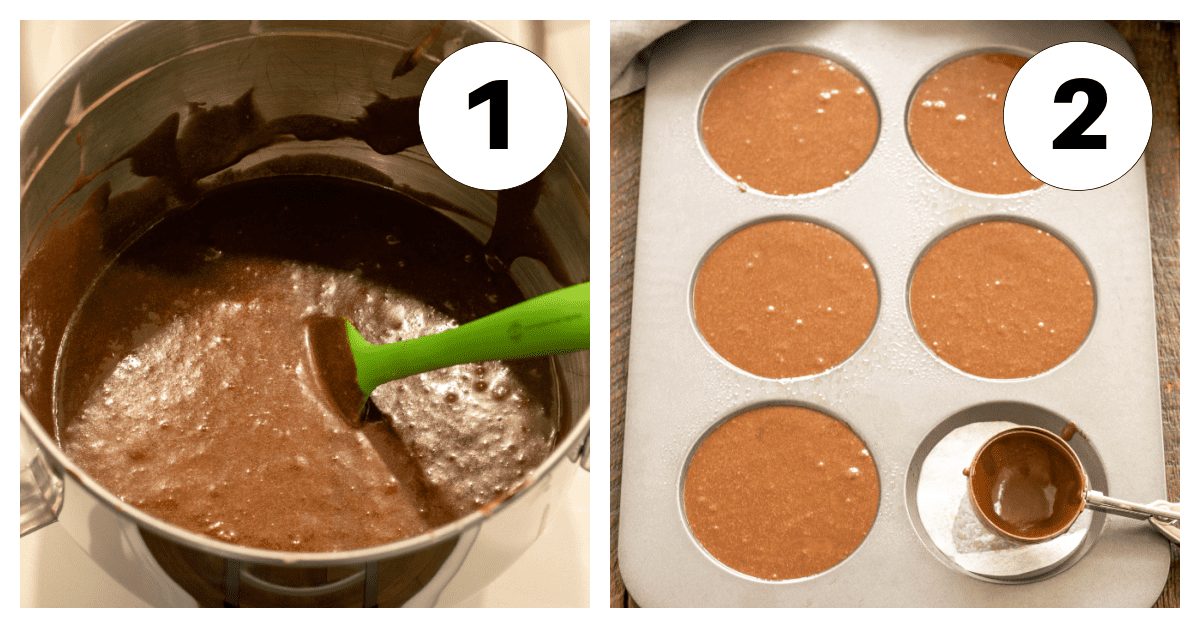
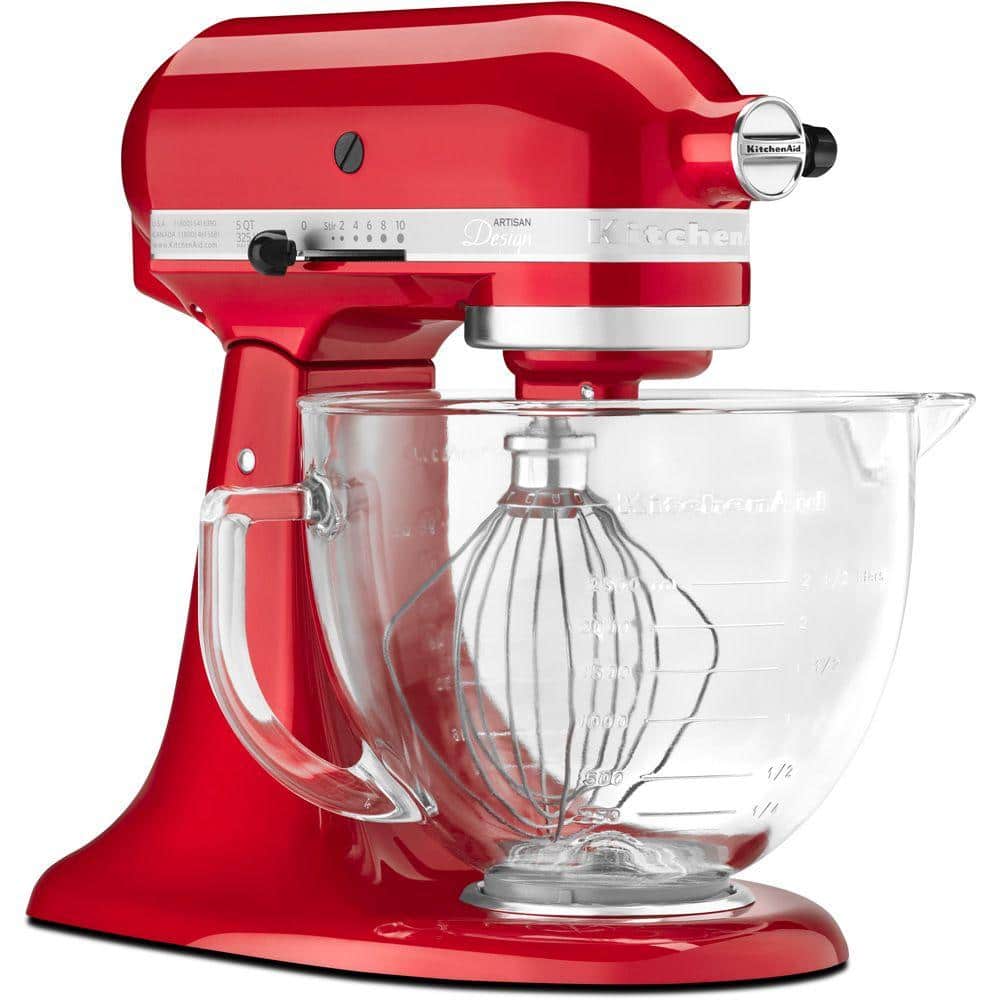
- Make the whoopie pie batter as directed in a stand mixer.
- Scoop the batter into the wells of a prepared muffin top tin.
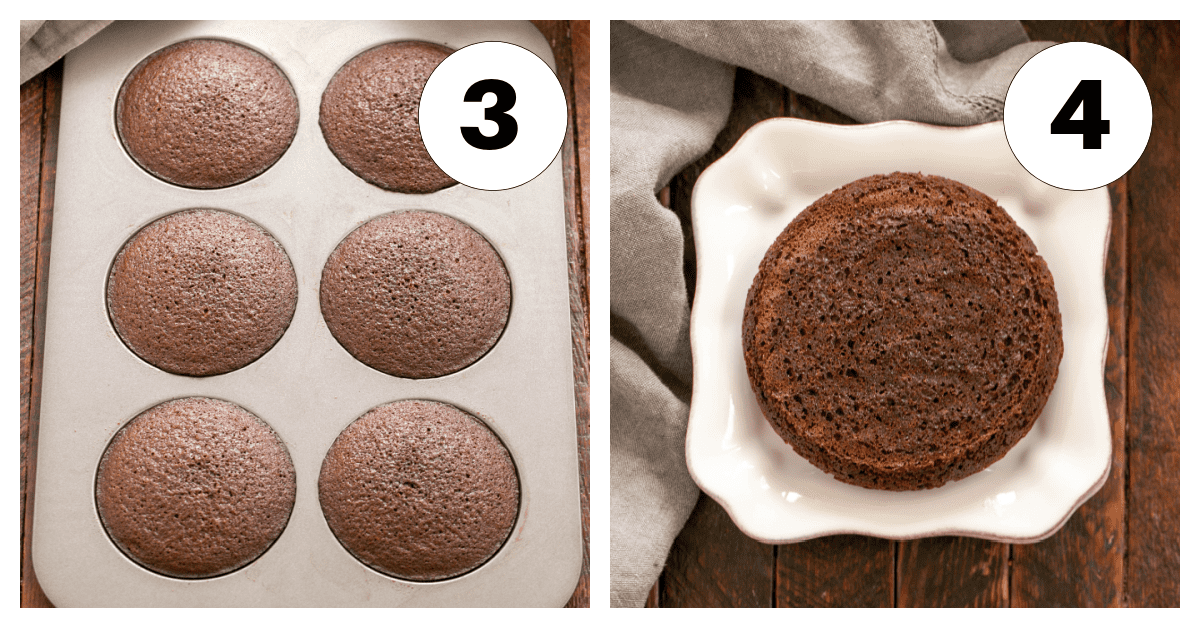
- Bake, cool briefly, then remove to a cooling rack.
- Make the filling as they finish cooling to room temperature.
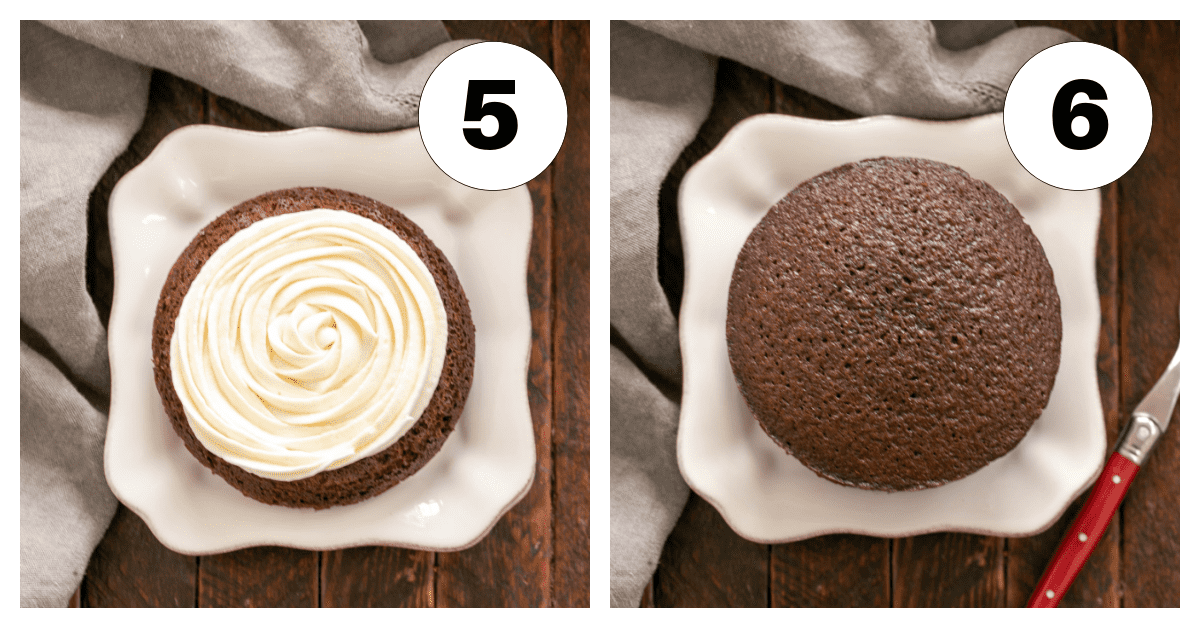
- Pipe or spread the filling on the flat side of half of the whoopie pies.
- Top with another half. Then dig in!!

Expert Tips:
While Nick was home for his college winter break, he and Katie requested another batch of these perennial favorites. It had been over a year since I last made this version of whoopie pies, but it’s truly our favorite. We all hovered around the mixing bowl to sample any leftover filling. Peas in a pod, we are! My hubby says these are like over-the-top Suzie-Q’s, which is a good thing, I guess. I hope you’ll give them a try!
- There are some recipes that don’t require a special pan, but if you bake a lot, purchasing a “muffin top” pan is worth it.
- PRO-Tip: If you don’t have buttermilk on hand, you can make it at home with 2 kitchen staples. Put 1 tablespoon of lemon juice or a neutral color vinegar in a 1 cup liquid measuring cup. Fill the cup to the 1 cup mark with whole or 2% milk. Stir and let rest for 5-10 minutes before using.
- Don’t overbeat the batter as it will over-activate the gluten in the flour.
- PRO-Tip: Spray the spoon or spatula with Pam before trying to get the marshmallow creme out of the jar. It will minimize sticking.
- Cool the whoopie pies completely before filling.
- For a “fancy” presentation, use a star tip to pipe the filling instead of a knife or offset spatula.
- Add a little instant coffee or instant espresso powder to your cake batter to intensify the chocolate flavor. Try ½ teaspoon.
- These cakes are so moist that you won’t want to stack them when putting them in a storage container.
Frequently Asked Questions
The unusual name seems to originate with the Pennslyvania Dutch who reported that their husbands and children responded with a “Whoopie!!!” when these were served.
There is some controversy over where the first whoopie pie originated, though it’s agreed that they first appeared in the 1920s. Whether in Maine, where my recipe originated, or in the Amish country of Pennsylvania, these cookies, pies, sandwiches, cakes, or whatever you want to call them, are a beloved treat!
For those who don’t want to invest in two new muffin top pans (or borrow them from me), here’s another Martha recipe you might like instead. I’d recommend using the marshmallow fluff filling below no matter which recipe you try.
Whoopie pies can be stored in an airtight container at room temperature for 1-2 days, then store in the refrigerator for 3-4 more days. Do not stack freshly baked whoopie pies as the moist cakes will stick to each other.
Whoopie pies freeze well for up to 3 months. Chill first, then wrap each in plastic wrap so you can pull out one at a time when a chocolate craving hits!
You May Also Like:
- Gingerbread Whoopie Pies from Saving Room for Dessert
- Green Velvet Whoopie Pies from Love from the Oven
- Carrot Cake Whoopie Pies
- Red Velvet Whoopie Pies
- More of my Best Dessert Recipes
Whoopie Pies
A classic whoopie pie recipe with a delectable marshmallow cream based filling. Adapted from Marthastewart.com
Ingredients
Whoopie Pies:
- ½ cup butter, at room temperature plus more for muffin pans
- 2 cups sugar
- ½ teaspoon salt
- 2 large eggs
- 1 ½ teaspoons vanilla extract
- 1 ½ teaspoons baking soda
- 1 cup buttermilk
- 1 3/4 cups flour
- ¾ cup cocoa powder
- ¾ cup boiling water
For filling:
- 1 cup butter
- 2 cups sifted powdered sugar
- 1 7-ounce jar marshmallow cream
- 2 teaspoons vanilla extract
Instructions
- Preheat oven to 350º. Butter two 4 inch muffin top pans. Line each cup with a parchment round, then butter parchment.
- Cream butter and sugar in a mixer with the paddle attachment until combined. Add salt, eggs and vanilla. Beat until just combined.
- In a small bowl, mix baking soda and buttermilk. Add about one third of flour to mixer, then half of buttermilk, another third more of flour, the last of the buttermilk and the last of the flour, mixing well between each addition.
- In another bowl, whisk cocoa powder with boiling water till smooth. Add to batter and mix till well combined.
- Fill each muffin top cup with ¼ cup of batter. Bake tins for 9 minutes, rotate pans and bake another 9 minutes. Cool slightly before removing cakes to wire rack to cool completely.
- Make filling: cream the one cup of butter and powdered sugar in a mixer with paddle attachment for about three minutes, then add marshmallow cream and vanilla. Mix till well combined.
- Place generous ¼ cup of filling on bottom side of muffin tops. Place second cake on top to form a whoopie pie.
Notes
Can keep covered at room temperature for 1-2 days, then store in an airtight container in the refrigerator. Do not stack as the moist cakes will stick to each other.
Recommended Products
As an Amazon Associate and member of other affiliate programs, I earn from qualifying purchases.

Nutrition Information:
Yield:
10Serving Size:
1Amount Per Serving: Calories: 723Total Fat: 31gSaturated Fat: 18gTrans Fat: 1gUnsaturated Fat: 10gCholesterol: 115mgSodium: 630mgCarbohydrates: 106gFiber: 2gSugar: 78gProtein: 7g


18 Comments on “Classic Whoopie Pies with Marshmallow Cream Filling”
Liz,
Can you buy parchment rounds alrady cut for muffin pans? Always looking for a shortcut! Following you here in Carmel, Liz! Thanks for the best recipes!
Hi, Lorrie!! So nice to connect with another local 🙂 I’ve always had to cut parchment rounds myself for those whoopie pie pans. Usually, I try to find a round cookie cutter that’s the right size to use as a template.
Perfect for my son. Since holidays are knocking, this is definitely a “keeper”. Thank you Liz!
OMG. This brings back memories. My dad always bought Whoopie Pies and loved them These look delicious.
I’m from Maine and when I go back to visit, I always go to Big G’s Deli on Benton Avenue in Winslow, just down the street from where I grew up. His whoopie pies are the size of a plate. Nobody can eat a whole one.
I have a muffin top pan but only one. I need to buy one more so I can make a batch and freeze them. Normal person size though.
Thanks for a terrific recipe and good memories.
They are just like mini chocolate layer cakes! Perfect over a pot of freshly brewed coffee with some good friends or just yourself in a rainy day 🙂
angiesrecipes
http://angiesrecipes.blogspot.com
I don’t think I’ve ever had one??? But I know homemade would be much better than store bought:@)
Can you use coffee instead of boiling water ?
Hi, Karla, that would be a great substitution! Hope you enjoy!
We loved the filling on these! The marshmallow was a fun twist!
How did you get these to look so perfect?!
Such a perfectly moist whoopie pies!
I am so glad you shared this recipe. My husband was saying how much he loves this treat and now I can make it for him!
The 2nd state dessert of Maine (after wild blueberry pie). I grew up on these and like to think Martha Stewart got this recipe from someone’s grandmother in Maine. Most Maine cooks used the flour/water paste with shortening and sugar for a filling but I like the Fluff version myself.
Kelly, my Katie said they are like unglazed Ding Dongs…glad I can compete with Hostess 🙂
Oh my gosh, Katie would love these….
I like any excuse to shop, Erica!! Let me know if you try these 🙂
I’ve never made these before but after seeing your pics I sure will now….they look amazing. I guess I’ll have to hunt for some new pans, will give me an excuse to shop in a kitchen store. Thanks for sharing that recipe Liz.